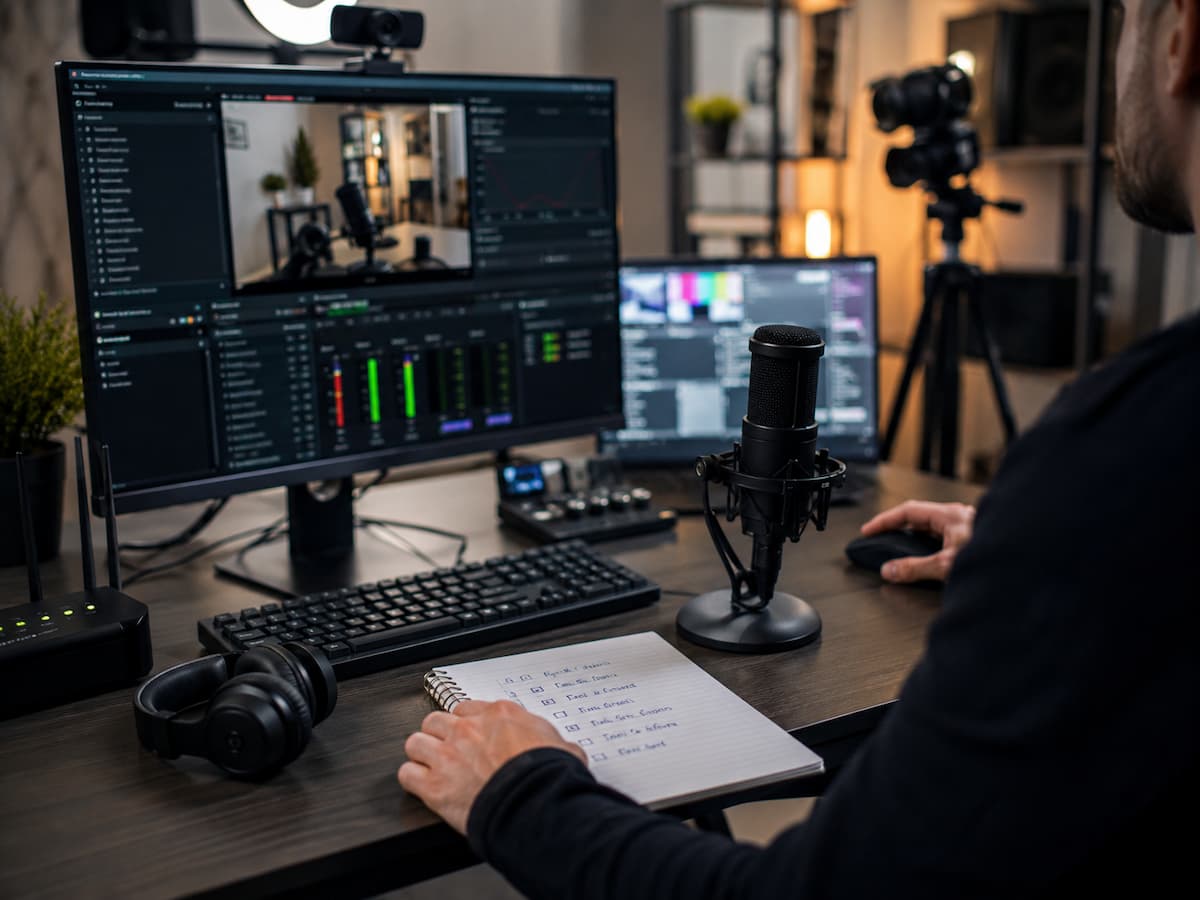
Most livestreaming problems aren’t really mysterious. Usually, you can identify simple issues during a quick test before the stream. Loose connectors, the wrong microphone choice, outdated software, computer overload, an unstable Wi-Fi connection, or incorrect livestreaming settings, for example, can all cause problems.
A comprehensive pre-stream checklist can help you identify and resolve issues before they occur. Of course, this doesn’t mean livestreaming is completely trouble-free. Livestreaming relies on technology, software, and network services, so unexpected glitches can still occur. The key is to eliminate as many potential problems as possible before viewers see the livestream.
Start by Checking Your Streaming Hardware
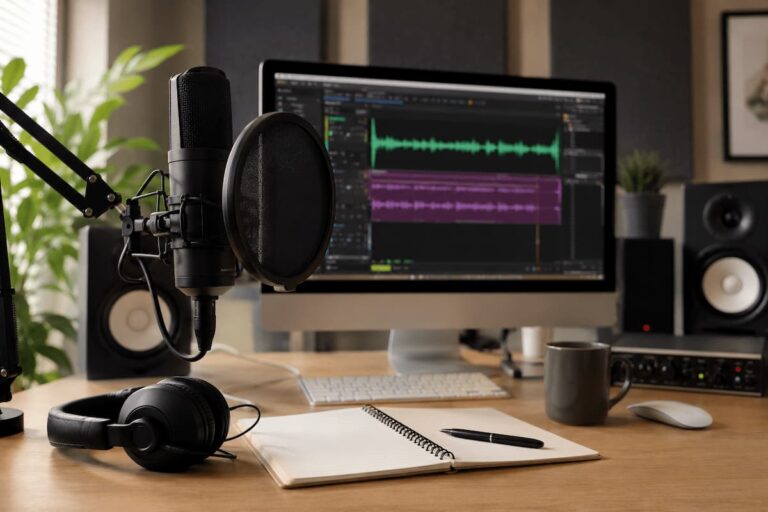
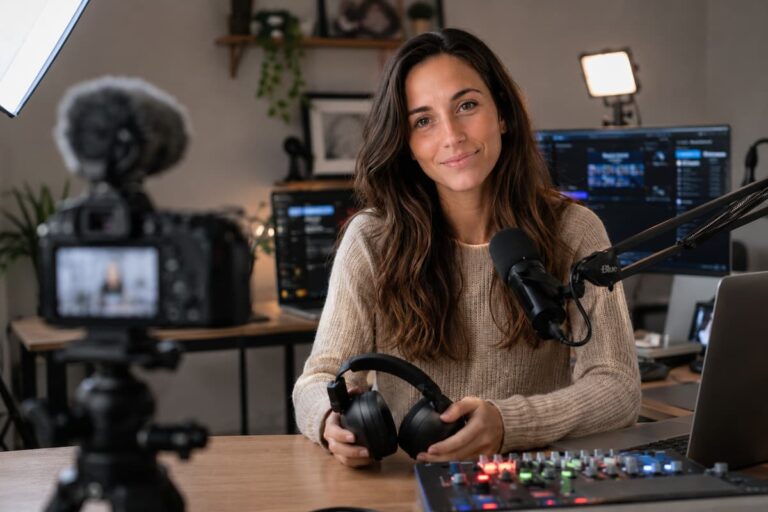
Ensure all your equipment is ready. Check that your computer, camera, microphone, headphones, and other necessary equipment are connected correctly. If you are using a USB microphone or webcam, disconnecting and reconnecting can sometimes resolve recognition issues. However, it is best to test thoroughly before actually live streaming. Open your livestream software and select the correct webcam and microphone. This sounds simple, but it is all too easy to accidentally use your laptop’s built-in microphone instead of your external microphone. If you are connecting multiple webcams or audio devices, ensure the software uses the same device you were testing with.
Check for loose cables. Once all devices are working correctly, do not move them unless absolutely necessary. If you are using a laptop, plug in the charger before you start streaming. A livestream that starts smoothly but is interrupted by a dead battery is entirely preventable. Also, check your lighting and the position of your webcam. A working webcam does not guarantee a good livestream: a dark screen, a cluttered background, or a poor camera angle will significantly negatively impact the experience.
Test your Microphone Before Testing Other Devices
Most viewers can tolerate some video imperfections, but poor audio can make a livestream unwatchable. That is why testing your microphone is a crucial part of the preparation. Simply speak into the microphone as usual and pay attention to the audio level indicator in your streaming software. Your voice should be at a good level on the meter—visible, but not constantly at the maximum. If the level is too low, viewers might not be able to hear you; if the level is too high, your voice may sound muffled.
Record a short test clip and listen to it with headphones. Do not rely solely on the monitor speakers. Pay attention to background noise, static, keyboard clicks, fan noise, echoes, and sudden volume changes. If you have multiple audio sources, test them one by one. Test the microphone, the computer sound, the music, the background noise, and the guests in that order. Ensure that your voice can drown out the music or other background noise. If you are using headphones, check that the microphone is not being used incorrectly, as this can cause audio distortion. Finally, check if your microphone is muted in your operating system or streaming application. Physical mute buttons are also easily overlooked.
Check the Video Quality and the Camera
If the sound is fine, check the video. Open the camera preview and check for clear black screens, frozen images, incorrect framing, or underexposure. If the camera is not visible, close all applications that might be using it and restart the streaming software if necessary. Ensure that your resolution and frame rate are suitable for your computer and network connection. Higher settings improve image quality but require more processing power and bandwidth. In general, a stable, high-quality video stream is preferable to settings that prioritize high image quality but are prone to frame loss.
Consider what the audience will see. Are faces or the main subject clearly recognizable? Is the camera aimed correctly? Are there distracting elements in the background? Making a few small adjustments before the livestream can make it look more professional. If you are using multiple scenes, check them one by one before the livestream. Ensure that the camera is positioned correctly in each scene and that the transitions are smooth.
Check the Network Connection
A fast network connection does not necessarily guarantee a stable livestream. Stability is crucial because streaming programs continuously send data to the platform. Frequent interruptions or instability can cause buffering, degraded image quality, or even complete interruptions for viewers. Run an online speed test before the livestream to assess your upload speed and stability. Compare the test results with the requirements of the streaming platform. If possible, connect your streaming computer to the router via an Ethernet cable instead of Wi-Fi.
If an Ethernet connection is not available, minimize unnecessary network activity. Pause large downloads, cloud backups, and other bandwidth-intensive activities. If your network bandwidth is limited, ask other family members not to perform bandwidth-intensive tasks during the livestream. Check the connection or performance data in your streaming software during the test stream. If frame loss or connection warnings occur, it is best to check this before the actual livestream, rather than waiting for the problem to resolve itself.
Monitor Your Computer’s Performance Closely
Livestreaming places high demands on your computer, especially when using HD video, multiple browser sources, animations, games, and other applications simultaneously. Programs that run smoothly under normal conditions may experience problems when all these programs are active at the same time. Therefore, close all unnecessary applications before you start streaming. Check your computer’s performance monitor to see if CPU, memory, or GPU usage is abnormally high. So, before you start streaming, make sure you understand how each application performs under heavy system load.
Conduct thorough tests using the scenarios and resources you will actually use during your livestream. This is more meaningful than just testing basic webcam scenarios. Switch between scenarios such as gaming, screen sharing, network resources, and full-screen webcam. Furthermore, watch out for your computer overheating. Overheating can cause performance issues, especially during long livestreams. Ensure adequate ventilation and place your computer in a well-ventilated room.
Check your Scene, Source, and Livestream Settings
Even the best camera and microphone won’t help if you set up your livestream software incorrectly. Check every scene you want to use to make sure the correct source appears in the right location. Before starting your livestream, check the title, description, category, and other platform settings for your livestream. If your livestream requires a specific key or account connection, ensure the correct account is linked. Use only settings that you have tested before going live.
Check your output resolution, frame rate, encoder, and bitrate. Ideal settings vary depending on your computer, internet connection, and livestream service. When troubleshooting, do not simply copy someone else’s settings without understanding the cause. If the platform supports it, running a short, private, or non-public test livestream is invaluable. This allows you to verify the actual output of the livestream, not just the preview in your livestream software.
Use This Final Pre-Stream Checklist
- Ensure you are using the correct camera and microphone.
- Check your microphone volume and listen for background noise.
- Check your camera’s framing, lighting, and image quality.
- Test all scenarios and primary signal sources.
- Ensure your upload and network connections are stable.
- Close all unnecessary programs and downloads.
- Monitor CPU, GPU, and memory usage during testing.
- Check your streaming resolution, frame rate, and encoding parameters.
- Verify that your livestream account and details are correct.
- Perform a private test stream, if permitted by the platform.
Do not rush through these steps to start your livestream. A five-minute review can save you time in the first fifteen minutes of your livestream, as you can then resolve issues that should have been discovered earlier.
What to do in Unexpected Situations
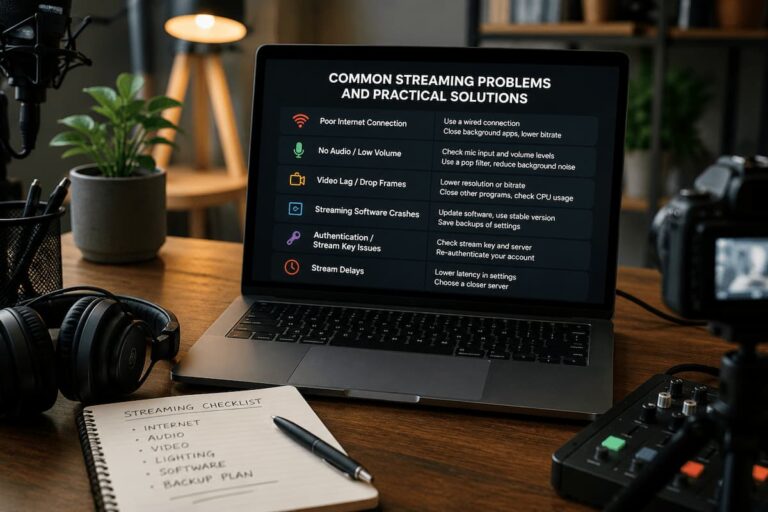
Even with thorough preparation, you can still run into technical problems. If your livestream stutters, do not immediately try to change a lot of settings. First, locate the problem. If your viewers cannot hear you, check your microphone source and mute settings. If the image is choppy, check your webcam connection and your computer’s performance. If the stream drops, verify your network connection and the status of your livestream software.
Document recurring problems and their solutions. For example, if your stream constantly loses frames, note when this happens and which parameters you were using at that moment. This way, over time, you build your own troubleshooting reference guide. The most reliable streamers are not always those who never encounter technical problems but those who can anticipate crises and handle them easily. Summary
Pre-stream checklist: One of the simplest ways to improve the reliability of your livestream. Listen carefully to the audio. Check your webcam. Test your hardware. Check the stability of your network. Monitor your computer’s performance. Next, test the entire configuration to ensure it perfectly matches real-world usage, rather than testing each component individually.
Consistency is the most important habit. Even if your settings have worked perfectly in the past, always perform the same basic checks before every major livestream. It is much easier to resolve minor issues before your viewers arrive. A stable workflow means you spend less time troubleshooting technical problems, allowing you to focus more on creating content and engaging your audience.
FAQs
1. How long do pre-livestream checks take?
Basic checks take about 10 to 15 minutes, but more extensive tests take longer. For major livestreams, schedule extra time to resolve unexpected issues.
2. Should I use Wi-Fi or Ethernet for livestreaming?
Ethernet is generally preferred, as wired connections are usually more stable than Wi-Fi. If you are using Wi-Fi, test it at the same time and location as your livestream.
3. Why does my microphone work, but I can’t see it in the livestream?
Ensure that your livestream software is using the correct microphone and that the microphone’s audio source is not muted. Also, check your software’s audio mixer settings and make a short recording or a private test stream.
4. Why is my livestream so blurry?
Blurry video can be caused by a low bitrate, a slow upload speed, incorrect resolution settings, or platform-side quality changes. Ensure your network connection is stable and check your settings according to the livestream platform’s latest recommendations.
5. Do I need to restart my computer for every livestream?
Restarting your computer is not always necessary, but it can help resolve temporary software issues and free up system resources. A restart is not always required; Your computer may already be running stably, and the livestream should be reliable.

Riley Bennett writes about content creation, streaming gear, and building efficient creator workflows at estergamer.com. After spending years testing equipment and figuring out what actually works versus what just looks impressive, Riley focuses on practical, no-nonsense advice for beginners starting from scratch. When not writing, Riley enjoys exploring new tech, refining home studio setups, and helping fellow creators skip the expensive mistakes that slow most people down. The goal is simple: honest guidance that gets real results without the marketing fluff.