Most people blame their camera. The real problem is usually how they’re using it. Walk into any electronics store and the sales pitch is the same: buy a better camera, buy a better lens, buy a better microphone. The message is clear—your videos look bad because your gear is cheap. Spend more, look better.
But here’s what the camera companies won’t tell you. A $200 smartphone in the right hands produces footage that most viewers can’t distinguish from a $3,000 setup. The gap between “amateur” and “professional” rarely comes down to sensor size or megapixel count. It comes down to understanding what actually makes video look good—and using whatever you already own with intention.
This guide breaks down six fundamentals that transform footage from any device. No shopping list. No affiliate links. Just techniques that work.
Light Like You Mean It
Cameras are essentially light-capturing machines. When light is scarce, they strain. Colors muddy. Shadows swallow detail. The image falls apart. When light is abundant and controlled, even basic sensors perform well.
The mistake most beginners make is treating light as an afterthought. They set up wherever is convenient—a dim living room, a desk facing a wall, a basement with one overhead bulb. Then they wonder why the footage looks flat and noisy.
Window Light: The Free Studio
A large window is the most underrated piece of video equipment on the planet. Morning and late afternoon light (the “golden hours”) wraps around subjects softly, creating natural dimension without harsh shadows. Position the subject facing the window, not with their back to it. Backlighting silhouettes. Front-lighting reveals.
East-facing windows deliver consistent morning light. South-facing windows provide the brightest midday exposure but may need a thin curtain to diffuse harsh rays. North-facing windows offer the most even, shadowless light throughout the day—ideal for product shots or interviews.
Building a Three-Point Setup From Household Items
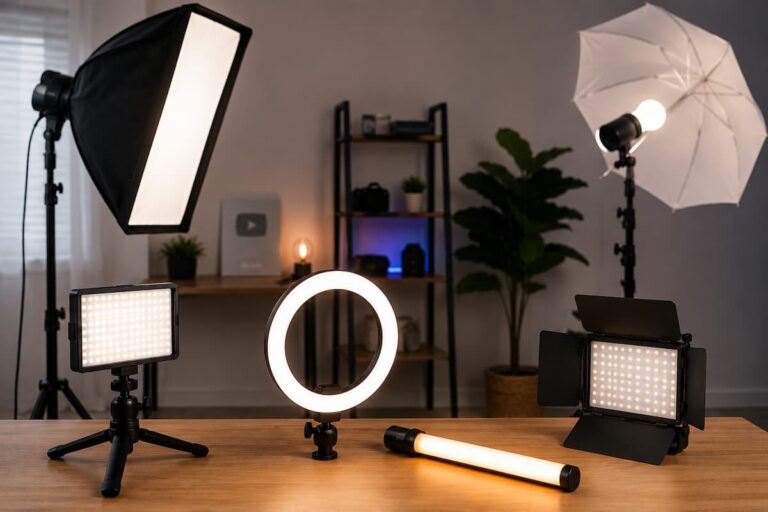
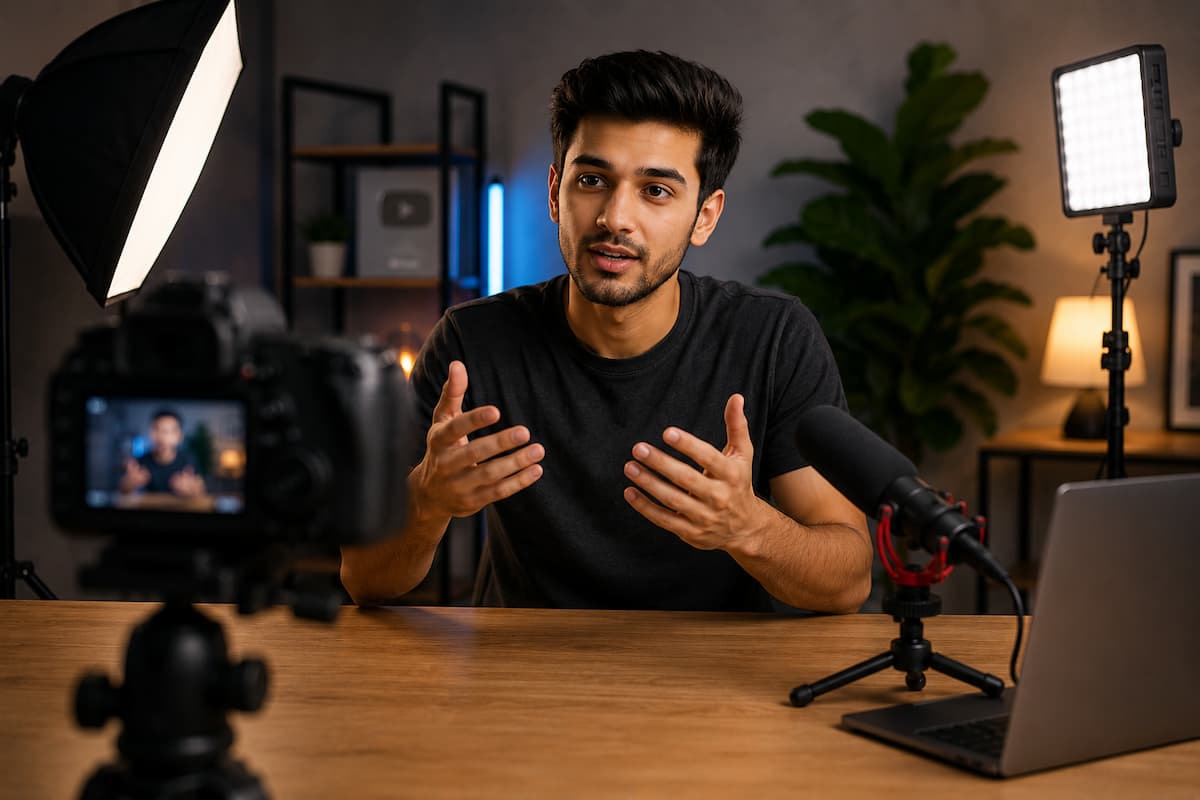
Professional studios rely on three light sources. Recreate this at home with ordinary objects:
| Role | What You Need | Placement |
|---|---|---|
| Key Light | Desk lamp + white pillowcase or bedsheet as diffuser | 45° to the side, slightly above eye level |
| Fill Light | White poster board, wall, or aluminum foil | Opposite the key light, reflecting soft fill onto the shadow side |
| Back Light | Second lamp or even a phone flashlight | Behind the subject, aimed at the shoulders or hair to create separation |
Stability Without the Gadgets
Shaky footage triggers an instant “amateur” signal in the viewer’s brain. The good news: smooth shots don’t require gimbals, sliders, or tripods. They require body awareness and a few creative substitutes.
The Human Tripod
Hold the camera with both hands. Tuck elbows firmly against the ribcage. Breathe slowly. For walking shots, bend the knees slightly and take short, deliberate steps—heel to toe, like crossing a narrow beam. The upper body stays level while the legs absorb the motion.
This technique, used by documentary shooters for decades, produces remarkably stable footage once practiced. The key is eliminating arm movement entirely. Arms are the weak link. The torso is the anchor.
Zero-Cost Stabilizers
- String tripod: Tie a 3-foot string to the camera, step on the opposite end, pull upward. The tension creates a surprisingly rigid vertical axis.
- Bean bag rest: A bag of rice or lentils on a car dashboard, table edge, or windowsill cradles the device and eliminates micro-shake.
- Wall slides: For lateral tracking shots, keep the camera body pressed against a flat wall and slide smoothly. The wall guides the movement.
- Book stack: Stack hardcover books to any height, rest the phone against the spine. Instant adjustable stand.
Camera Settings That Matter
Default auto modes are designed for convenience, not quality. They constantly hunt for focus, pump exposure up and down, and shift white balance as conditions change. The result is footage that looks alive in the worst way—distracting and unprofessional.
Lock Everything Down
Manual control is the dividing line between someone who “shoots video” and someone who makes video. Three settings deserve immediate attention:
- Exposure: Set once for the scene and lock it. Changing light conditions won’t cause mid-shot brightness fluctuations.
- White Balance: Match the preset to the dominant light source—Daylight, Tungsten, Fluorescent, or Cloudy. Skin tones stay consistent.
- Focus: Manual focus prevents the “hunting” effect where the lens constantly searches for what to sharpen. Tap to focus on the subject, then lock it.
Resolution and Frame Rate
Record at the highest resolution available—1080p minimum, 4K if the device supports it. Higher resolution provides more detail and flexibility in post-production cropping. For frame rate, use 24fps for cinematic content, 30fps for standard delivery, and 60fps only when slow-motion is planned. Recording everything at 60fps “just in case” wastes storage and creates unnecessary motion smoothing.
Audio: The Hidden Dealbreaker
Viewers forgive grainy footage. They do not forgive bad sound. Harsh, echoey, or noisy audio causes immediate abandonment—often within the first five seconds. The visual could be stunning, but if the audio hurts to listen to, the video fails.
Improving audio costs almost nothing. The environment does most of the work.
Room Selection
Soft surfaces absorb sound reflections. Hard surfaces bounce them around, creating echo and reverb. A carpeted bedroom with curtains, a bed, and a closet full of clothes performs better than an empty kitchen with tile floors and bare walls.
Need a voiceover booth? A walk-in closet lined with hanging garments is essentially a professional sound treatment. Many podcasters and YouTubers record entire series in exactly this setup. The fabric absorbs reflections and delivers clean, dry audio.
Environmental Control
Before recording, perform a 30-second sound audit. Turn off the air conditioner. Unplug the refrigerator (remember to plug it back in). Close windows. Stop the ceiling fan. These background layers build up invisibly and make post-processing far more difficult than necessary.
Record 10 seconds of “room tone”—silence in the space—before starting. This captures the ambient noise profile, which most editing software can subtract from the entire track automatically.
Microphone Positioning
Distance matters more than microphone quality. A $10 lapel mic positioned 8 inches from the mouth outperforms a $200 shotgun mic placed 4 feet away. Keep the mic 6–12 inches from the speaker, slightly off-axis to avoid breath pops. Never hold it in the hand—handling noise destroys otherwise clean takes. Clip it to clothing, tape it to a desk, or suspend it from a stack of books.
Composition: Frame With Purpose
Where things sit in the frame tells the viewer what to care about. Random placement feels accidental. Intentional placement feels designed. The difference is often just a few inches of adjustment.
The Rule of Thirds
Divide the frame into nine equal sections with two horizontal and two vertical lines. Place the subject at the intersections, not the center. This follows how human eyes naturally scan images and creates visual tension that keeps attention engaged.
Enable the grid overlay in camera settings. Most phones and webcams have this option buried in the menu. Turn it on. Use it. Centered subjects are for passports and mugshots, not compelling video.
Headroom and Lead Space
Leave roughly 10% of the frame height above the subject’s head. Too much empty space looks like a mistake. Too little feels claustrophobic. If the subject faces or moves in a particular direction, position them on the opposite side of the frame, leaving “lead space” ahead of them. This implies motion and gives the viewer’s eye somewhere to travel.
Background as Storytelling
Everything visible behind the subject communicates something. A cluttered desk says “disorganized.” A blank wall says “unprepared.” A curated shelf with a few meaningful objects says “intentional.”
Before recording, scan the entire frame. Remove laundry, random cables, distracting patterns, and anything that competes for attention. Place the subject 3–4 feet in front of the background. Even basic cameras create natural background separation at this distance, adding subtle depth that elevates the shot.
Edit With Restraint
Post-processing is where good footage becomes great—or where it gets ruined by overcorrection. The goal is polish, not transformation.
Essential Adjustments
- Exposure correction: Most footage benefits from slight brightening. Lift shadows enough to reveal detail without crushing them to gray.
- White balance: Neutralize color casts so skin tones look natural. When in doubt, trust the eyeballs—they should look human, not orange or blue.
- Contrast: A gentle increase separates subject from background. Avoid high-contrast presets that look like HDR nightmares.
- Saturation: Boost only if colors appear washed out. Oversaturated footage looks cheap and untrustworthy.
- Sharpening: Apply lightly to compensate for soft focus, especially if the footage was cropped or scaled.
Pacing and Cuts
Remove dead air, false starts, and verbal filler. Tight pacing respects the viewer’s time. Jump cuts—cutting out segments of continuous footage—are standard practice in online video and keep energy high. Record in short 30–60 second segments rather than marathon takes. Mistakes become easier to isolate and remove. Delivery stays energetic because the speaker isn’t exhausted from a 10-minute continuous performance.
What to Remember
Professional-looking video from basic equipment requires six fundamentals:
- Light deliberately. Windows, lamps, and white poster boards outperform expensive cameras in bad light.
- Stabilize creatively. Body mechanics and household objects eliminate shake without buying gear.
- Lock camera settings. Manual exposure, white balance, and focus prevent distracting auto-adjustments.
- Prioritize audio environment. Soft rooms and proper mic placement matter more than microphone price.
- Compose with intention. Rule of thirds, controlled backgrounds, and proper spacing guide viewer attention.
- Edit for clarity. Color correction, tight cuts, and steady pacing polish footage without overprocessing.
The equipment already in your pocket or on your desk is sufficient. The difference between amateur and professional is not the camera—it’s the decisions made before pressing record.

Riley Bennett writes about content creation, streaming gear, and building efficient creator workflows at estergamer.com. After spending years testing equipment and figuring out what actually works versus what just looks impressive, Riley focuses on practical, no-nonsense advice for beginners starting from scratch. When not writing, Riley enjoys exploring new tech, refining home studio setups, and helping fellow creators skip the expensive mistakes that slow most people down. The goal is simple: honest guidance that gets real results without the marketing fluff.