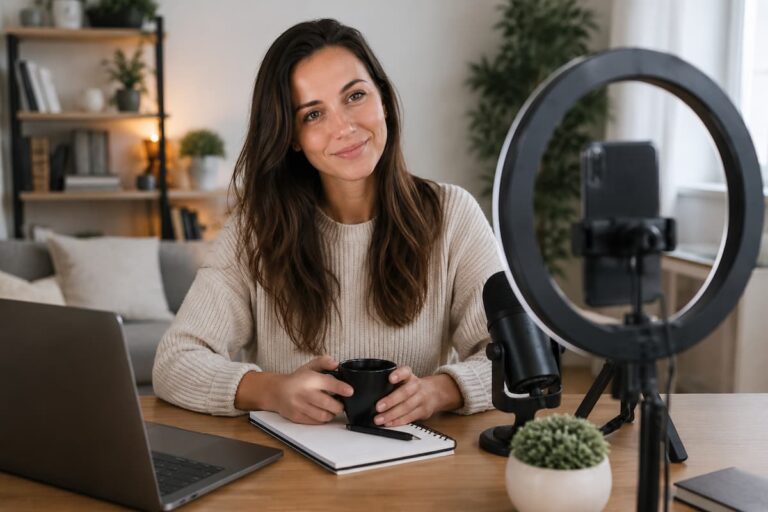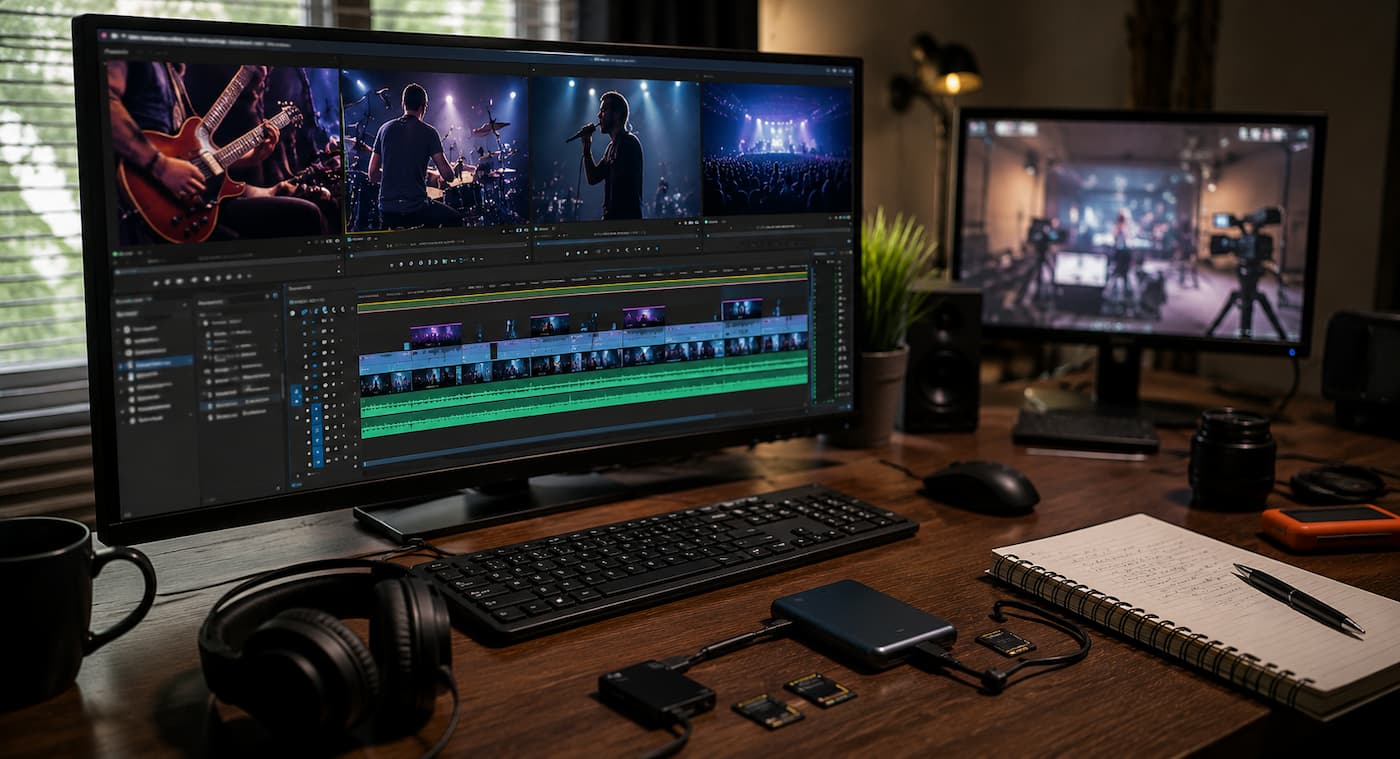
What Multicamera Video Editing Entails
With multicamera video editing, you can edit footage from multiple cameras simultaneously. Editors can synchronize clips by using a common reference point in their editing software, treating the clips as multiple perspectives of the same event. Imagine an interview with three cameras. Camera A captures a wide shot of the presenter and the guests. Camera B captures close-ups of the guests, while camera C focuses on the presenter. Multi-camera recording integrates different angles into a single editable clip, rather than splitting them into multiple projects and switching between them manually.
After reviewing the footage, the editor can choose the right angle. The software ensures consistent recording time when switching camera shots. This is especially important when it is impossible to reconstruct a specific event, such as when recording just one performance, a wedding speech, or a presentation. Multi-camera editing allows you to choose the best perspective after filming. Convenience is not the most important benefit. A well-designed multi-camera workflow simplifies the voice-over, pacing, and visual coherence by reducing repetitive work.
When Multicam Editing Makes the Most Sense
Multicam editing is most valuable when multiple cameras capture the same event at roughly the same time. The more often you need to move between viewpoints, the more useful a multicam workflow becomes.
Common Examples Include
- Interviews with two or more subjects
- Video podcasts
- Weddings and ceremonies
- Live music performances
- Theatre productions
- Business conferences
- Educational lectures
- Sports and competitions
- Panel discussions
- Multi-camera product demonstrations
- Documentary interviews
- Live events and presentations
For example, a video podcast may use a wide camera showing both speakers and individual close-ups. During editing, the producer can quickly switch to the person speaking or, when the conversation changes direction, use the wider view. Multicam editing is less useful when cameras are recording entirely different scenes at unrelated times. In that situation, ordinary editing methods may be more appropriate, as the footage does not need to be synchronized as a single event.
Plan the Multicam Shoot Before Recording
The fastest multicam edits often begin with effective planning rather than clever editing techniques. Problems created during filming can be difficult or impossible to fix later. Before recording, decide what each camera is responsible for. One camera might provide a safe wide shot that remains available throughout the event. Another can capture medium shots, while a third focuses on close-ups or secondary subjects. This division of responsibilities gives every camera a purpose. It also reduces the risk of ending up with several cameras showing almost identical compositions.
Think About These Factors Before the Shoot
- Where each camera will be positioned
- Which camera provides the main wide shot
- Which angles will be used for close-ups
- Whether cameras can record continuously
- How the cameras will be synchronised
- Whether all cameras use compatible frame rates
- How audio will be recorded
- How much storage each camera will require
- How batteries will be managed
It is also important to think about camera movement. A locked-off wide shot can act as a reliable safety angle if another camera operator accidentally misses a moment. When planning a long recording, consider the possibility of cameras stopping at different times. Battery limitations, storage capacity, overheating, or file-size limits can create gaps that complicate synchronization.
Organise Camera Footage Before Editing
Once recording is complete, avoid immediately importing everything into your editing timeline. A little organization at the start can save you significant time later. Create a clear folder structure for the project. Separate camera footage, audio recordings, graphics, music, project files, exports, and other assets. Within the camera footage folder, you can organize files by camera or recording position. For example, you might create folders named Camera A, Camera B, and Camera C. Rename folders rather than changing original file names unnecessarily. Many cameras generate file names automatically, and altering them can sometimes make it harder to identify the original media.
A Simple Folder Structure
Project
├── Camera_A
├── Camera_B
├── Camera_C
├── Audio
├── Graphics
├── Music
├── Project_Files
└── Exports
Keep the original camera files untouched. If you need to create proxies or converted media, place those files in separate folders. This makes it easier to reconnect or relink media if something goes wrong. Copy footage to at least one reliable backup location before formatting memory cards. Do not treat the editing project as your only copy of important recordings.
How to Synchronise Multiple Camera Angles
Synchronization is the foundation of a successful multicam edit. All camera angles need to line up at the correct point so that the editor can switch between them without creating noticeable timing errors. There are several ways to synchronize the footage.
1. Audio-Based Synchronisation
Many editing applications can compare the audio waveforms from different camera recordings and automatically align clips. This method is convenient when all cameras captured usable audio from the same event. It works particularly well for interviews, podcasts, and presentations where speech provides a clear waveform.
2. Timecode Synchronisation
Professional productions may use matching timecode systems to keep cameras and audio recorders aligned. This approach can be more reliable for long recordings and complex productions. However, timecode systems require careful setup. If you do not configure the devices correctly, matching timecode numbers do not necessarily guarantee perfect synchronization.
3. Manual Synchronisation
For smaller productions, you can synchronize clips manually using a visible and audible reference point. A hand clap at the beginning of a recording is a simple example. The visual movement and sharp audio spike provide a common point that you can align across cameras. Manual syncing takes more time, but it remains useful when automatic tools cannot identify a reliable match.
Why Audio Is Critical in Multicam Editing
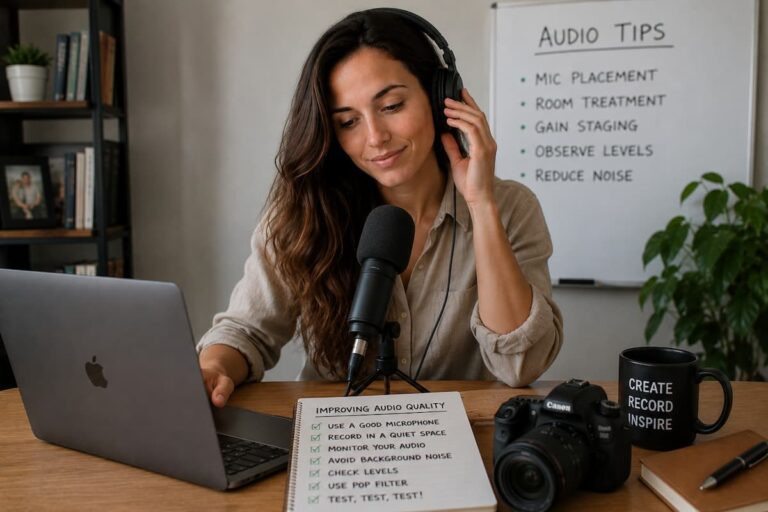
Viewers may forgive a small camera angle mismatch, but poor audio can make a video difficult to watch. For this reason, audio should be treated as a priority in every multicam workflow. Camera microphones are often useful as reference tracks for synchronization, but they may not provide the quality needed for the final production. A dedicated microphone or external recorder can produce cleaner and more consistent sound.
Once the footage is synchronized, choose the best audio source as your primary track. You may then mute or reduce the audio recorded by individual cameras to prevent echoes and phase problems. For an interview, the main audio might come from a lavalier microphone or boom microphone. In a live performance, combining a feed from the sound system with carefully selected ambient recordings can be effective.
Good Audio Practices
- Record a clean primary audio source.
- Use the camera audio as a synchronization reference when appropriate.
- Check for background noise before editing heavily.
- Listen for changes in room tone between cuts.
- Keep backup audio whenever possible.
- Monitor for clipping and distortion.
Good audio preparation makes the final multicam edit sound consistent even when the visual angle changes frequently.
Creating a Multicam Sequence
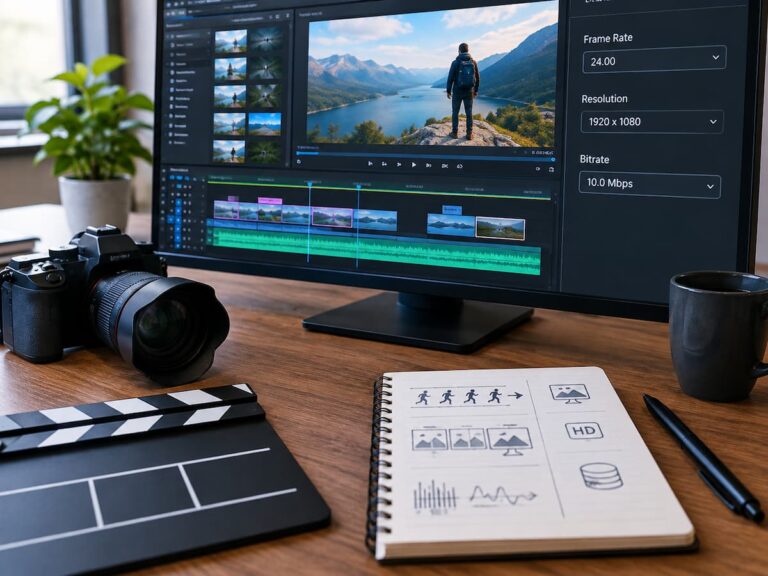
Most modern professional editing software offers multi-camera capabilities, but the specific steps differ slightly. Generally, the steps are similar. First, import the video and audio recordings from your cameras. Use the software’s multi-camera or synchronization functions to merge recordings of the same event.
Choose the best video synchronization method. If the audio quality of the recordings is good, waveform synchronization may be the best choice. If the software supports this, use the recorded timecode. After synchronization, manually check the multi-camera sequence. Although automatic synchronization is useful, it is not perfect. Check for timing issues, missing segments, and moments where the camera stopped recording at different times. Once all camera angles have been checked, create the master clip sequence. You can then edit the multi-camera recordings as a single clip, displaying multiple camera angles simultaneously.
How to Edit Multicam Footage Efficiently
The most efficient approach is usually to separate the editing process into stages. Trying to perfect color, audio, transitions, and camera choices all at once can make the workflow unnecessarily complicated.
1. Create the Rough Cut
First, focus on the content. Remove mistakes, long pauses, unnecessary sections, and unusable material. Do not spend too much time adjusting every camera angle at this stage.
2. Choose Camera Angles
Once the content is working, review your angle choices. Switch between cameras to improve visual variety and maintain attention.
3. Refine the Cuts
Check each transition carefully. Avoid cuts that feel distracting or appear to happen for no clear reason.
4. Improve Audio
Balance dialogue, reduce unwanted noise, and ensure that audio remains consistent across the edit.
5. Colour and Finishing
Match the cameras as closely as possible. Differences in exposure, white balance, and color can become obvious when switching between angles.
This staged workflow keeps the creative decisions separate from technical finishing work.
Choosing the Right Camera Angle
Multi-camera editing offers more angles but should not be used in every edit. Frequent camera changes can make the edit appear abrupt and unnatural. Wide-angle shots can be used to introduce a scene or emphasize the relationships between characters. Close-ups can highlight reactions and key moments, while medium shots are suitable for dialogue.
Consider switching cameras during an interview if the speaker changes posture or if their emotional reaction increases the relevance of the content. Avoid editing immediately after a specific time period. Maintaining continuity is crucial. Sudden camera changes can make the edit appear unnatural. Pay attention to eye contact, hand gestures, object placement, and other visual details of the characters.
Expert advice: Use the perspective of each shot to tell a story. Do not simply switch perspectives just because there are other possibilities; instead, consider what the audience needs to see.
A Faster Multicam Editing Workflow
A streamlined workflow reduces unnecessary decisions and keeps repetitive tasks organized.
- Back Up Everything: Make reliable copies of original camera footage and audio before beginning major editing work.
- Organize Media: Separate footage by camera and keep audio, graphics, music, and project files organized.
- Synchronize Early: Create multicam sequences before beginning detailed editing. Confirm that the angles are aligned correctly.
- Select the Best Audio: Choose your primary audio source before making detailed cuts.
- Build a Rough Cut: Focus on the story and remove unnecessary content before worrying about visual polish.
- Perform an Angle Pass: Review the edit and select the most appropriate camera view for each moment.
- Refine Transitions: Check cuts for continuity, pacing, and visual logic.
- Finish Audio and Color: Balance sound and match camera footage after the main edit is stable.
- Review the Entire Video: Watch the complete production from beginning to end before exporting the final version.
This approach is faster because it prevents you from repeatedly revisiting the same decisions.
Common Multicam Editing Mistakes
Using several cameras without considering synchronization is a common mistake. Post-production is harder with variable camera settings and no reference. Unplanned color matching of cameras with very varied color profiles is another issue. Angle cuts might be seen. Sometimes editors alter angles too often. Some productions benefit from frequent cuts, but needless switching might make viewers lose focus.
Other Mistakes to Avoid
- Not backing up original footage
- Not considering audio quality
- Avoiding manual synchronisation checks
- Incompatible frame rates mixed without comprehending the repercussions
- Running out of storage during extended recordings
- Cameras with different white-balance settings
- Ignoring exposure disparities
- Editing everything on one huge timeline without organization
- Avoiding the final quality-control review
Better planning before recording reduces most of these issues.
Troubleshooting Multicam Problems
| Problem | Possible Cause | What to Check |
|---|---|---|
| Angles do not sync | Missing or poor reference audio | Try manual alignment or another synchronisation method |
| Audio echoes | Multiple microphones active | Mute or reduce unwanted camera audio |
| Video cuts look unnatural | Continuity mismatch | Check subject position and eyelines |
| Cameras look different | Different exposure or white balance | Correct colour and exposure during finishing |
| Playback is slow | High-resolution footage | Use proxies or optimised media |
| Media goes offline | Files moved or drives disconnected | Relink media and maintain consistent storage paths |
Slow playback is especially common when editing high-resolution footage. If your computer struggles to play several camera streams simultaneously, consider creating proxy files. Proxies are lower-resolution working copies that make editing easier while the original high-quality media remains available for final export.
Finishing and Reviewing the Edit
After completing the main edits, view the entire production from the perspective of the final viewer. Do not rely solely on the timeline or the editing interface. Check for unexpected black frames, inappropriate camera angles, audio interruptions, volume changes, and visual continuity issues. Pay special attention to color transitions between different shots. These transitions can affect image quality when viewed simultaneously.
View the beginning and end of the video. Ensure the beginning and end flow smoothly together, with no interruptions in dialogue or music. Export a test clip before rendering the longer final segment. Verify the exported file for image, sound, resolution, and frame rate on the intended display device.
Multicamera Editing Checklist
Verify the following before completing a multicamera project:
- All original footage has been backed up.
- The camera files are correctly organized.
- The camera angles are consistent and accurate.
- A primary audio source has been selected. The camera sound is muted or reduced.
- The camera angles contribute to the story and the pace.
- Visual continuity has been checked.
- Camera color anomalies have been corrected.
- A solution has been found for the playback issue.
- The editing has been thoroughly checked.
- Exported files have been checked before delivery or publication.
Although the checklist is simple, it prevents minor technical issues from affecting the final production.
FAQs
1. What are the biggest benefits of multi-camera editing?
The main benefit is efficiency. You can synchronize perspectives and switch between them in a single editing environment, without having to manually position and edit the footage from each camera throughout the entire production process. This simplifies the editing of interviews, podcasts, events, and performances. It gives you more creative freedom, because you can choose the best perspective after the recording.
2. How many cameras are needed for multi-camera editing?
There is no limit to the number of cameras you can use for multi-camera editing. The right number of cameras depends on the production project. For a simple interview, you might only need two cameras, but for a concert or conference, you might need dozens. More cameras offer more possibilities but also require more storage space, synchronization, color adjustment, and post-processing time.
3. Do all cameras have to be the same model?
No, multi-camera editing supports a variety of camera models. Using the same camera simplifies the workflow because the footage can have the same color, exposure, resolution, and lens characteristics. When switching cameras, pay attention to the frame rate, resolution, white balance, exposure, and color profiles. More consistent shooting settings ensure smooth transitions between camera angles.
4. What is the best way to synchronize multi-camera footage?
The best method depends on how the footage was shot. Professional productions often use timecode, but waveform-based synchronization can also work effectively if all cameras have recorded usable audio for the same event. For smaller projects, clapping is a simple manual reference method. Always manually check automatic synchronization, especially during long recordings or when cameras start and stop at different times.
5. My multi-camera view is slow. Why?
A multi-camera view can be a challenge because editing software has to process many high-resolution video streams. This occurs especially with 4K or higher resolution footage and compressed formats that require significant processing. Creating proxies or optimizing the media can improve playback. You can also lower the playback resolution during editing. Your editing experience may change, but the export quality does not necessarily have to be affected.
6. Why edit audio before switching camera angles?
Identifying the primary audio source early in the workflow is useful, but accurate audio post-production can wait until the main video editing is stable. Select and synchronize suitable audio first. Determine the rough cut and camera angles. After the visual editing is complete, perform audio mixing, noise reduction, and volume control. This saves time in post-production and prevents content from ultimately having to be removed.
Conclusion
Multi-camera video editing can manage and simplify complex image libraries. By synchronizing footage from different angles, you can switch perspectives without having to reshoot sequences. Accelerating production begins even before editing. Plan your camera angles, ensure consistent shots, safeguard audio quality, and organize your media. These choices streamline the editing process and reduce technical issues.
Edit in stages after you have synchronized your footage. Only finalize audio and color correction after you have created a rough cut and selected the camera angles. This prevents the project from becoming unnecessarily complex due to unnecessary decisions. Most importantly, with multi-camera video editing, you do not have to use every camera angle. The goal is to use the right perspective when necessary. When technology, organization, and storytelling skills are perfectly combined, multi-camera video editing saves time and produces clearer, more engaging videos.

Riley Bennett writes about content creation, streaming gear, and building efficient creator workflows at estergamer.com. After spending years testing equipment and figuring out what actually works versus what just looks impressive, Riley focuses on practical, no-nonsense advice for beginners starting from scratch. When not writing, Riley enjoys exploring new tech, refining home studio setups, and helping fellow creators skip the expensive mistakes that slow most people down. The goal is simple: honest guidance that gets real results without the marketing fluff.