If you create video, audio, or high-resolution photography for a living, you know that you aren’t just in the content business—you are in the storage management business.
A single 4K video project shot in 10-bit color can easily chew through 100GB of raw footage. Add in your project files, audio tracks, graphics, preview renders, and exports, and your computer’s internal hard drive will be crying for help before you can even finish the first cut.
When you hit that inevitable “Disk Full” warning, you face a major decision. Do you buy another rugged external SSD to throw on your desk, or is it finally time to spend the money and configure a Network-Attached Storage (NAS) system?
I have spent years on both sides of this fence. I started with a drawer full of portable SSDs, eventually got fed up with the clutter, and built a 40-terabyte NAS.
While the NAS felt like the ultimate upgrade, I quickly learned that “bigger” does not always mean “better” for a solo workflow.
Here is an honest, first-hand look at the massive differences between external SSDs and a NAS, so you can figure out exactly where to put your money.
The External SSD: Speed, Portability, and Desk Clutter
For 90% of solo creators, the humble external SSD (Solid State Drive)—like the Samsung T7, SanDisk Extreme, or Crucial X10 Pro—is the first line of defense against overflowing storage. And for good reason.

Let’s start with speed. A modern USB-C 3.2 Gen 2 external SSD transfers data at around 1,000 megabytes per second (MB/s). If you splurge on a Thunderbolt 3 or 4 drive, that jumps up to 2,500+ MB/s.
Because these drives are incredibly fast, you can edit 4K footage directly off them. In my workflow, I will drop footage from my camera’s SD card straight onto a Samsung T7, plug it into my laptop, open Premiere, and start editing instantly. There is no lag, no dropping of frames, and no waiting.
They are also tiny. You can slip a 2TB SSD into your pocket, throw it in your backpack, and take it to a coffee shop.
The Slow Nightmare of the “SSD Drawer”
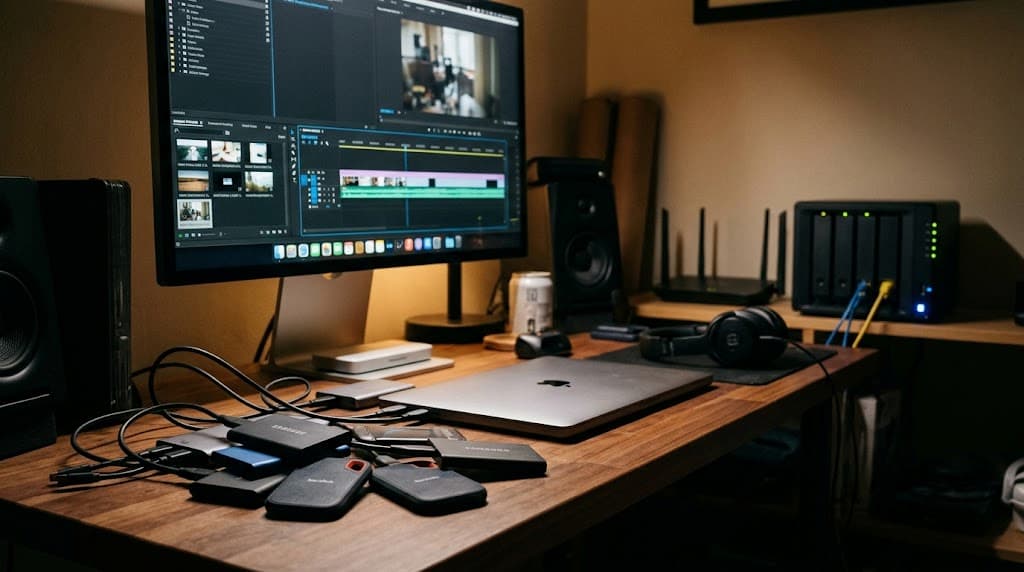
The problems with external SSDs only show up as your library grows. For your first year, having two SSDs is fine. By year three, you will have ten.
Eventually, you will start running into fragmentation and workflow clutter:
-
Where is that clip? You will spend hours plugging and unplugging 5 different drives to find an old b-roll clip from six months ago.
-
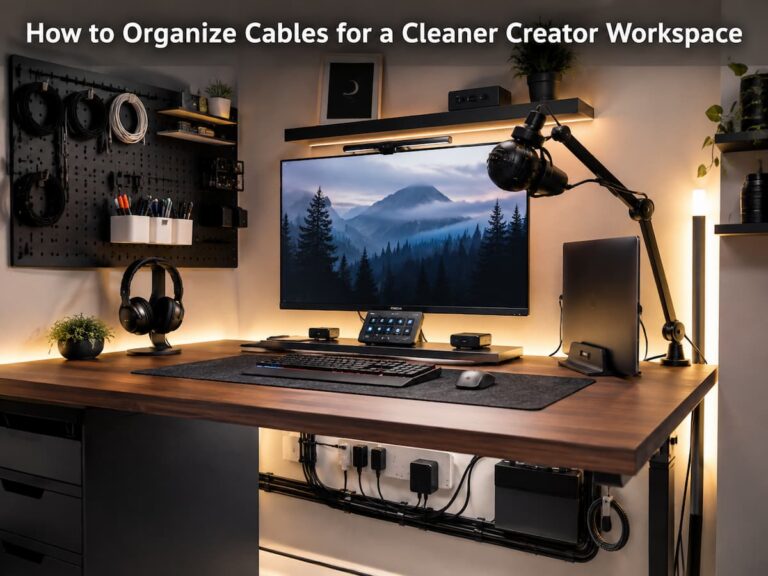
The Cable Mess: To use multiple drives, you have to run USB hubs, which quickly turns your workspace into a tangle of cords. If you accidentally bump a cable, you can eject a drive mid-render, risking corrupted files.
-
The Data Loss Risk: If you drop an external SSD, or simply lose it while traveling, your data is gone. There is no automatic redundancy.
The NAS (Network-Attached Storage): A Studio-Grade Hub
A Network-Attached Storage system, or NAS, is a small, always-on computer that lives in your home, connects to your router, and contains multiple hard drives (bays).
Instead of plugging a drive into your computer, you access your files over your local Wi-Fi or wired network.

The Freedom of One Giant Drive
When you turn on a multi-bay NAS (like a Synology DS923+), you can pool multiple hard drives together so they appear on your computer as a single, giant, continuous folder—for example, a 32-terabyte archive.
Here is why a NAS transforms your long-term creative workflow:
-
Zero Desk Clutter: Your NAS can live in your hallway or a closet. Your desk is left completely empty, with no external drives or messy cables in sight.
-
Built-in Safety (RAID): If an external SSD dies, you lose everything. A NAS uses RAID (Redundant Array of Independent Disks) configuration. If you have a 4-bay NAS running RAID-5, you can have a hard drive physically fail, and your data remains 100% safe. You just slide the broken drive out, put a new one in, and the system heals itself.
-
Anywhere Access: Since it connects to your network, you can access your archives from any device. If you are traveling and need an old asset, you can log in to your home NAS remotely to download the file.
The Network Speed Bottleneck and Real Costs
While a NAS sounds like the perfect solution, it has two major barriers that keep it out of reach for many solo creators: Complexity and Speed.
Most standard home network configurations use 1GbE (Gigabit Ethernet). Over 1GbE, your transfer speeds top out at roughly 110 megabytes per second (MB/s).
Compare that to the 1,000 MB/s you get from a basic $120 USB-C SSD. If you try to edit large video files or scroll through photo catalogs over a 1GbE connection, your timeline will stutter, lag, and drop frames.
To edit directly off a NAS, you have to upgrade your network to 10GbE (10 Gigabits), which lets you hit speeds of around 1,000 MB/s.
This requires Buying a 10GbE-compatible NAS, upgrading your computer’s network adapters, using Cat6a cables, and purchasing an expensive 10GbE network switch.
Then, you have to consider the massive upfront costs:
| Component | 2TB External SSD Setup | 16TB 4-Bay NAS Setup (RAID-5) |
| Enclosure / Unit | Included ($120) | $450 (e.g., Synology 4-bay) |
| Drives / Media | Included | $480 (4x 6TB Enterprise HDDs) |
| Network Upgrades | $0 (Plug & Play) | $150 (10GbE Switch / Adapter) |
| Total Estimated Cost | $120 | $1,080 |
Comparing Your Options: Speed, Security, and Scalability
To help you figure out the best move for your specific space, budget, and needs, let’s look at how these systems compare side-by-side.
| feature | external SSD setup | NAS (network-attached) |
| Direct Speed | Incredibly Fast (1,000 to 2,500+ MB/s) | Slow over 1GbE (110 MB/s); Fast on 10GbE |
| Cost Per Terabyte | High ($60 – $80 per TB) | Low ($20 – $30 per TB over time) |
| Setup & Complexity | Zero (Plug & Play) | High (Network config, drive mapping, RAID) |
| Portability | Incredibly Mobile | None (Bulky, lives on network) |
| Reliability / Fail-safe | None (Single point of failure) | Built-In (Can survive physical drive failures) |
| Accessibility | Only on 1 device at a time | Accessible by any device, anywhere |
The Hybrid Approach: The Ultimate Solo Creator Playbook
Having used both extensively, I’ve found that the best solution for solo creators is not “either/or.” It’s using a hybrid approach that gives you the speed of SSDs with the long-term safety of a NAS, without breaking the bank.
1. Keep Your Active Projects on your SSD (The Workspace) When you shoot new footage, put it onto your fastest external SSD. Keep this drive plugged into your laptop and edit directly off it. This gives you the speed, portability, and timeline responsiveness you need.
2. Archive Finished Projects to Your NAS (The Warehouse) Once a project is edited, exported, and published, you don’t need instant, blazing access to it anymore. Move the entire project folder over your network to your slow, massive NAS archives.
This hybrid approach allows you to:
-
Buy a cheap 1GbE NAS (or even a standard multi-bay external HDD like a Western Digital My Book Duo) to act as your centralized archive.
-
Avoid the massive cost and headache of upgrading your entire network to 10GbE.
-
Edit without stutters or drops on small, portable, and responsive external SSDs.
If you have less than 4TB of files, just stick with external SSDs and Back up your most important files to the cloud. Once your archives cross 8TB and you find yourself constantly sifting through an unorganized pile of drives to find old footage, that’s when a multi-bay NAS becomes the single best investment you can make for your peace of mind and workflow efficiency.
We generated all visual assets first so you can clearly review them. Let me know if you would like to tackle the next article, focus on a specific aspect of the storage setup, or prepare another draft for your AdSense optimization journey!

Riley Bennett writes about content creation, streaming gear, and building efficient creator workflows at estergamer.com. After spending years testing equipment and figuring out what actually works versus what just looks impressive, Riley focuses on practical, no-nonsense advice for beginners starting from scratch. When not writing, Riley enjoys exploring new tech, refining home studio setups, and helping fellow creators skip the expensive mistakes that slow most people down. The goal is simple: honest guidance that gets real results without the marketing fluff.