Ignoring Audio Quality and Focusing Only on Video
One of the earliest mistakes new creators make is focusing too much on visuals while ignoring audio. Many assume that a high-quality camera is enough to make content look professional. However, viewers are far more sensitive to poor sound than imperfect visuals.
Why audio is more important than video quality
- Viewers will leave quickly if they cannot clearly hear you
- Background noise reduces trust and professionalism
- Even a basic video looks good if the audio is clean
Real example: A simple smartphone video recorded in a quiet room with clear sound often performs better than a high-resolution video with echo or distortion.
Practical improvement: Always test your microphone before recording and choose a quiet environment over a visually impressive but noisy location.
Weak or Inconsistent Lighting Setup
Lighting is one of the most underestimated parts of content creation. Beginners often record in random lighting conditions without realizing how much it affects clarity, skin tone, and overall video quality.
Common lighting mistakes beginners make
- Recording with bright light behind them
- Mixing different light colors in the same frame
- Using only overhead room lighting
- Ignoring shadows on the face
Better approach: Try to keep lighting consistent. Natural light from the front or a single controlled light source can dramatically improve video appearance without needing expensive setups.
Practical insight: Even small adjustments like turning slightly toward a window can instantly improve visual quality.
Buying Expensive Gear Without Understanding Basics
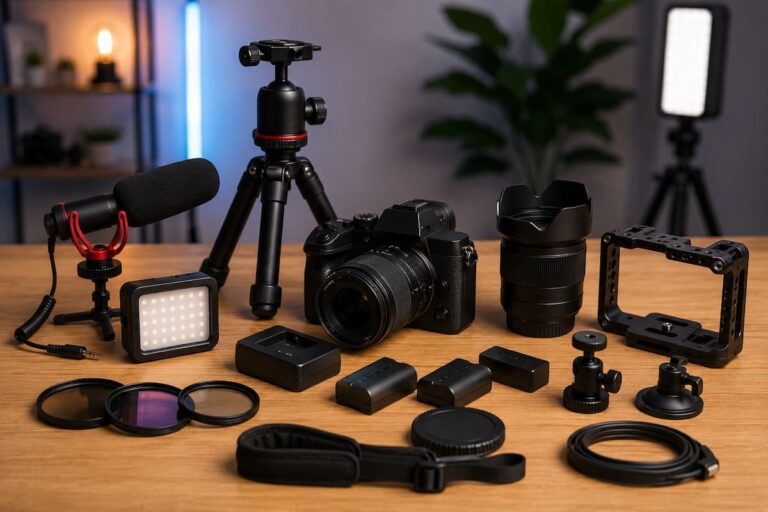
Many beginners believe that better equipment automatically leads to better content. This leads to unnecessary spending on cameras, microphones, and accessories before understanding how to use them properly.
In reality, skill and setup matter more than price.
Comparison: Smart vs Unplanned Setup
| Unplanned Setup | Smart Beginner Setup |
|---|---|
| An expensive camera is used in poor lighting | A basic camera used with a proper lighting setup |
| High-end microphone in an echo-filled room | Simple microphone in a quiet, soft room |
| Complex gear without practice | Simple setup mastered over time |
Key lesson: A simple setup used correctly will always outperform an expensive setup used incorrectly.
Ignoring Room Acoustics and Background Noise
Sound quality is not only about the microphone—it is heavily influenced by the room itself. Many creators overlook how their environment affects audio clarity.
Common environmental problems
- Echo in empty rooms with hard walls
- Fan, traffic, or appliance noise
- Sound bouncing from tiles or glass surfaces
Simple improvements that work:
- Record in rooms with curtains or carpets
- Turn off unnecessary electrical devices
- Choose smaller rooms with more soft furniture
These small changes can make even basic audio equipment sound significantly better.
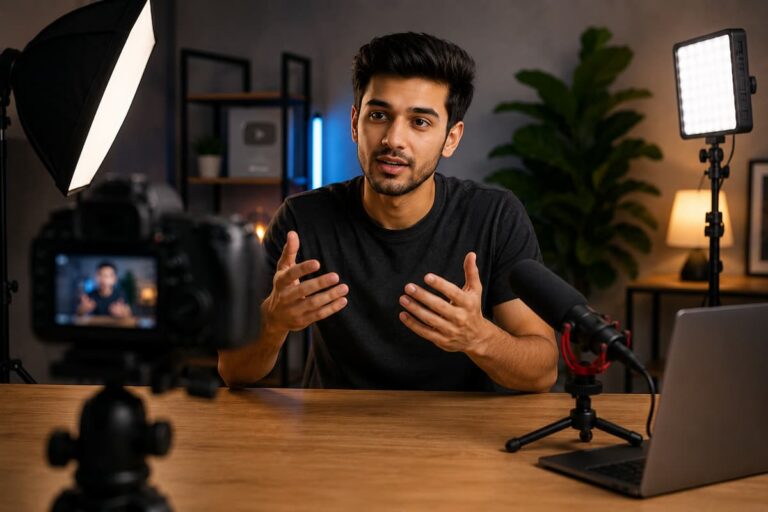
Poor Camera Positioning and Framing
Camera placement plays a giant role in how professional your content appears. Many beginners either place the camera too low, too high, or too far away, which creates unnatural angles.
Best framing practices
- Keep the camera at eye level for natural engagement
- Maintain balanced head and shoulder framing
- Avoid extreme close-ups unless necessary
- Keep the background simple and distraction-free
Why this approach matters: Proper framing builds trust with viewers because it feels more natural and direct, like a real conversation.
Overcomplicating the Setup with Too Many Tools
It’s common for beginners to think that adding more devices will improve quality. However, too much equipment often creates confusion, delays, and technical problems.
Problems caused by overcomplication
- Long setup and breakdown time before recording
- Increased chances of technical failure
- Difficulty managing multiple devices
Better mindset: Start simple and only add new tools when you clearly understand why you need them.
Creators who master simple setups first usually grow faster because they spend more time creating and less time fixing problems.
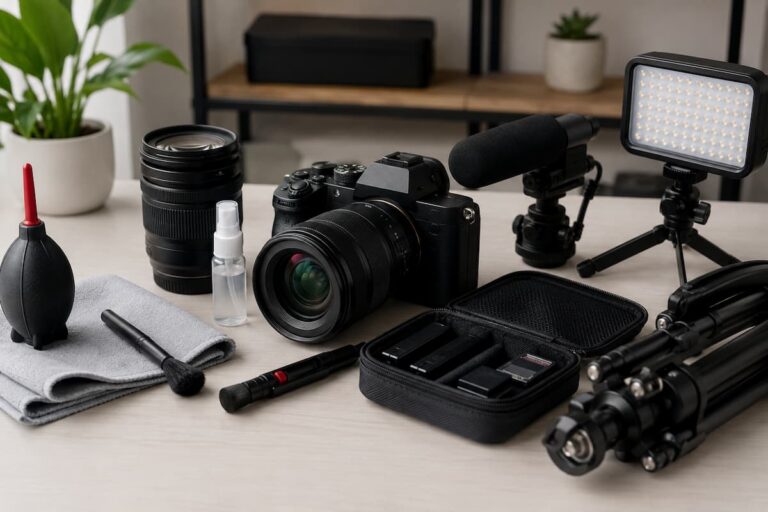
Skipping Equipment Testing Before Recording
One of the most frustrating mistakes is recording for a long time and later discovering that something was not working correctly—like muted audio or wrong camera settings.
Quick pre-recording checklist
- Test the microphone input and volume levels
- Check camera focus and exposure
- Verify lighting consistency
- Ensure enough storage space is available
Simple habit: A 2–3 minute test recording can save hours of frustration later.
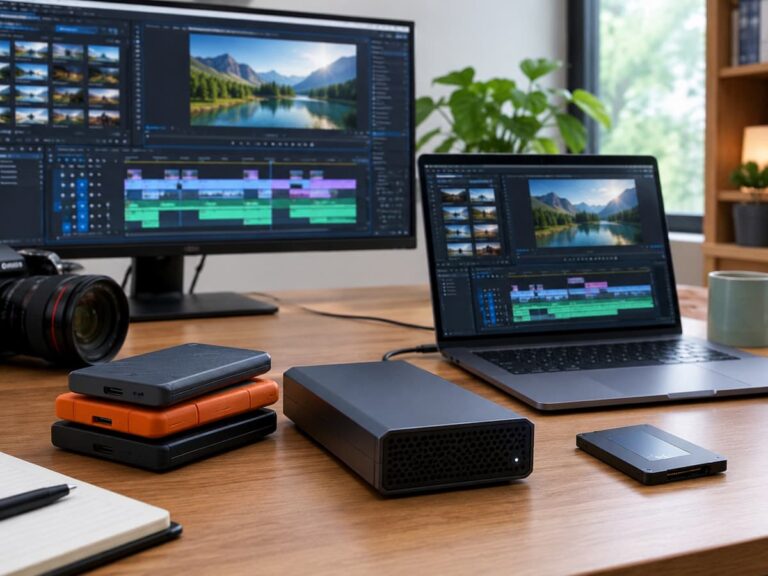
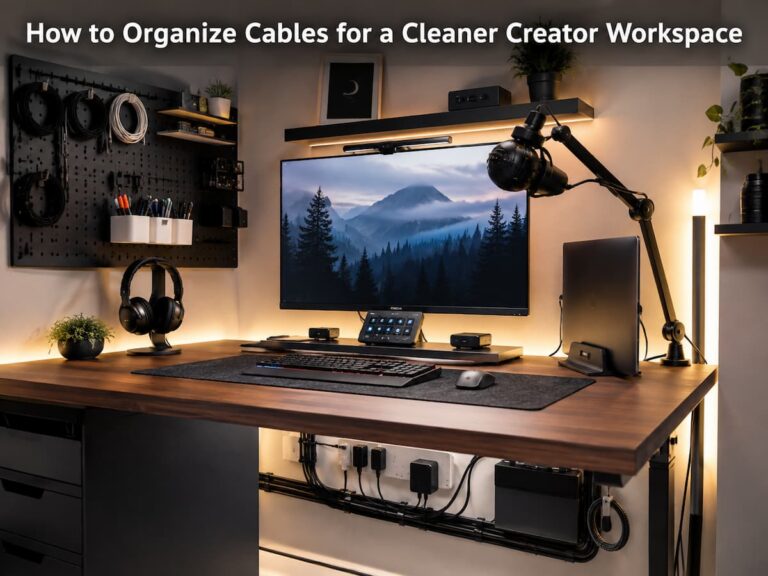
Poor Cable Management and Workspace Setup
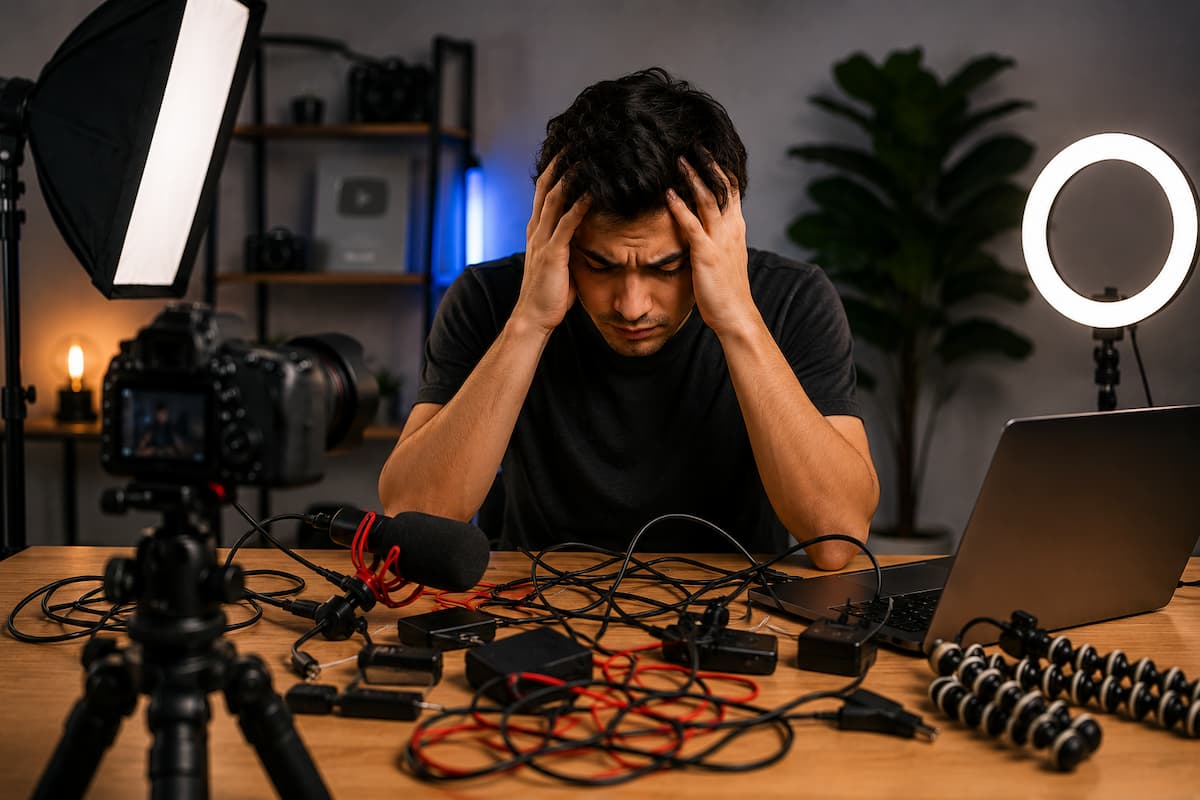
Cable organization might seem like a small detail, but it has a big impact on workflow and reliability. A messy setup can lead to accidental disconnections or damaged ports.
Benefits of organized hardware setup
- Faster and smoother setup process
- Reduced risk of accidental unplugging
- Cleaner, more professional workspace appearance
Simple practice: Group cables together and keep frequently used connections easily accessible instead of scattered across the desk.
Relying Too Much on Editing to Fix Hardware Problems
Editing is powerful, but it is not magic. Many beginners assume that editing tools can resolve any issue, which leads to neglecting proper recording setup.
Problems editing cannot fully fix
- Severely distorted audio
- Dark or overexposed footage
- Blurry or unfocused video
Important truth: Editing should enhance content, not rescue poorly recorded material.
Not Building a Repeatable Setup Routine
One overlooked issue is inconsistency. Beginners often change setups every time they record, which leads to unpredictable results.
Why consistency matters
- Helps maintain stable video quality
- Saves setup time before recording
- Makes content style more recognizable
Practical tip: Once you find a working setup, keep it consistent and only make small improvements over time.
Conclusion: Simple Setup, Better Content
Most new creators assume they need expensive equipment to succeed, but the reality is completely unique. The biggest improvements come from avoiding simple hardware mistakes rather than buying more gear.
By improving audio clarity, lighting consistency, camera placement, and workspace organization, you can significantly upgrade your content quality without overspending. The key is not complexity—it is consistency and awareness. If you focus on building a clean, simple, and reliable setup, your content will naturally improve over time, and your workflow will become much easier and more enjoyable.
FAQs
Q1: What is the most important hardware element for beginners?
Audio quality is the most important because viewers notice poor sound faster than anything else.
Q2: Do I need expensive equipment to start content creation?
No. A basic setup used correctly is enough to produce high-quality content.
Q3: Why does my video look poor even with a good camera?
Poor lighting, bad framing, or incorrect settings are usually the main reasons.
Q4: How can I improve my setup without spending money?
Focus on lighting, room choice, camera positioning, and reducing background noise.
Q5: Should I depend on editing to correct mistakes?
No. Editing helps improve content but cannot fully fix poor recordings.

Riley Bennett writes about content creation, streaming gear, and building efficient creator workflows at estergamer.com. After spending years testing equipment and figuring out what actually works versus what just looks impressive, Riley focuses on practical, no-nonsense advice for beginners starting from scratch. When not writing, Riley enjoys exploring new tech, refining home studio setups, and helping fellow creators skip the expensive mistakes that slow most people down. The goal is simple: honest guidance that gets real results without the marketing fluff.