Why Creator Workspace Cable Organization Matters
Good cable organization goes beyond desk esthetics. Well-planned setups make daily work easier by making connections easy to recognize and cords accessible. You shouldn’t have to move six wires to connect a broken microphone to a computer or audio interface. The same applies when replacing a display, unplugging a camera, or transferring an external storage device.
Cable control is also useful and safe. When running from a workstation to a wall outlet, loose cables can trip. Unsafe electrical cords include damaged, crushed, or repeatedly bent ones. The U.S. Consumer Product Safety Commission advises against overloading extension cords or power strips and replacing broken cords. OSHA also advises avoiding damage to flexible cords. The finest cable-management solution doesn’t hide every wire. It makes every vital wire easy to comprehend, reach, and maintain.
This is especially important for creators because equipment changes. A beginner might start with a laptop and USB microphone, then add a display, camera, lighting, speakers, external storage, and audio interface. Adding equipment doesn’t have to mess up the workplace if you manage cables from the start for future upgrades.
Start With a Cable Audit
Before buying cable sleeves, clips, trays, or ties, take inventory of what is already on your desk. This is one of the simplest steps and one of the most valuable. Many people try to organize cables without first deciding which ones actually belong in the workspace. The result is a beautifully arranged pile of unnecessary wires.
Trace each cable from one end to the other. Identify the device it connects to and decide whether the connection is permanent, occasional, or unnecessary. Set unidentified cables aside rather than throwing them away immediately. Some cables may look identical while supporting different functions, so it is worth identifying them before deciding what to keep.
| Cable Type | Example | Recommended Approach |
|---|---|---|
| Permanent | Monitor power or display cable. | Route securely. |
| Frequently used | Camera or external-drive cable | Keep accessible. |
| Occasional | Controller or card-reader cable | Store nearby |
| Spare | Extra USB or display cable | Label and store separately. |
| Damaged | Frayed or cracked cable | Remove from use. |
Once you finish the audit, you may discover that the workspace has fewer active cables than you thought. Removing unnecessary connections is often the first major improvement in cable organization.
Group Cables by Their Purpose
After identifying your cables, group them according to their job. A creator workstation commonly contains power, display, USB, networking, audio, lighting, and charging connections. These groups do not all need completely separate routes, but thinking about them separately makes the overall layout easier to understand.
Permanent power and display connections can usually follow the rear edge of the desk. Frequently changed USB and audio cables may need to remain closer to the front. Network cables may need a direct route toward a router or network switch. Lighting cables can often follow the rear of the desk or the structure of a light stand.
The key is to organize cables based on how they are used, not simply how they look. Two cables that run in the same direction may not belong in the same bundle if one is disconnected every day and the other remains untouched for months.
Best practice: Secure permanent cables more firmly and keep frequently changed cables flexible and easy to reach.
Plan Cable Routes Before Securing Them
Do not start attaching cable clips immediately. First decide where the cables should travel. Look at the rear edge of the desk, the underside, the location of power outlets, and the positions of your equipment. Consider where each cable begins, where it ends, and what could interfere with its path. It helps to divide the workspace into zones. Your computer and monitor may form one zone, your microphone and audio equipment another, and your camera and lighting equipment a third. Instead of letting every cable take a separate path, guide them toward the appropriate zone and then branch them out to individual devices.
Pay special attention to equipment that moves. A monitor mounted on an adjustable arm needs enough slack to move up, down, or sideways. A microphone on a boom arm also needs freedom of movement. If these cables are secured too tightly, they can become strained every time the equipment is adjusted. For a complicated workspace, make a simple sketch before installing anything. Mark the computer, monitors, power source, network connection, and movable equipment. Planning first can prevent unnecessary loops and crossings later.
Organize Cables Under the Desk
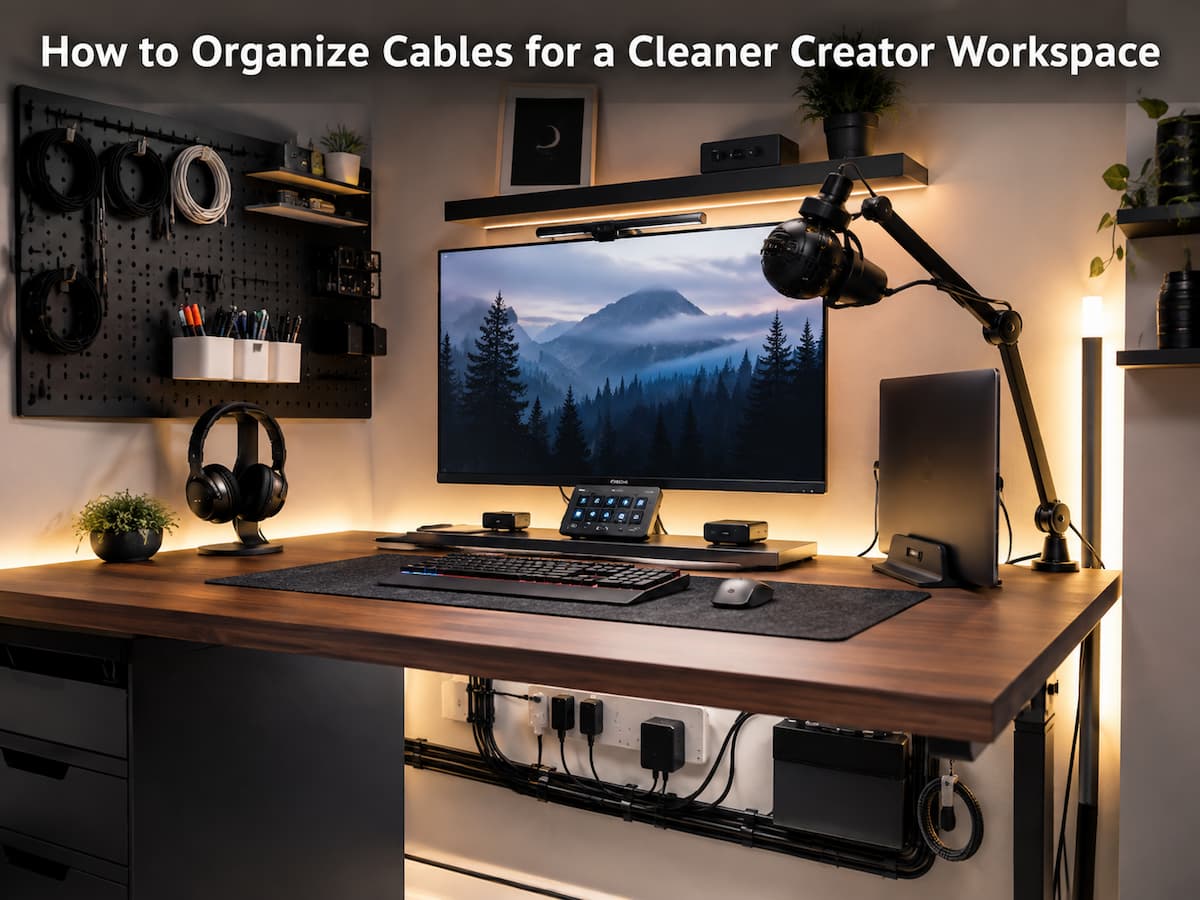
The underside of a desk is usually where cable clutter becomes most difficult to manage. Power adapters sit on the floor, cables form loose loops, and wires can become tangled around chair legs. The easiest solution is to create one or more controlled routes along the rear or underside of the desk. A cable tray can hold several cables and power adapters, while smaller clips can guide individual wires along the desk frame or rear edge. Reusable hook-and-loop straps are useful when you expect to change equipment because they can be opened without cutting the cable bundle.
Do not compress cables tightly just to make them look neat. Cables need room to move naturally, and connectors should not be placed under constant pulling force. Avoid using staples, nails, or other fasteners that could penetrate or damage cable insulation. Never use a cable-management method that damages the cable itself. A tidy cable that has been crushed, pierced, or sharply bent is not a successful cable-management solution.
Keep the floor as clear as possible. If a cable must cross a walking area, look for a safer alternative route or an appropriate method of securing and protecting it rather than leaving it loose.
Keep Frequently Used Cables Accessible
A common cable-management mistake is making everything so hidden that normal work becomes inconvenient. If you regularly connect a camera, tablet, phone, controller, external drive, or other device, its cable should remain easy to access. A small cable clip near the front or side of the desk can keep a frequently used connector from falling behind the desk. The clip does not need to hold the entire length of the cable. Its main job is to keep the connector within reach.
You can also route a longer cable underneath the desk and bring only the necessary working length to the desktop. This gives you a clean appearance without sacrificing convenience. For example, if you transfer video files from a camera every day, there is little benefit in hiding its data cable so thoroughly that you have to search through a drawer every time. Think about the actions you repeat most often. Cable organization should make those actions faster, not slower.
Label Important Cables
Labels are especially useful when several cables look similar. A creator workspace may contain multiple USB, HDMI, DisplayPort, Ethernet, audio, and power connections. After a few months, remembering which cable belongs to which device becomes surprisingly difficult. Use simple labels such as “MONITOR,” “CAMERA,” “MIC,” “AUDIO INTERFACE,” or “DESK LIGHT.” Place the label close to the connector so it remains visible when the cable is routed behind equipment. For important cables, labeling both ends is even better.
Color coding can also help, but it should support rather than replace labeling. A colored strap can identify a group quickly, while a written label shows exactly what the cable connects to. Labels are particularly valuable when another person needs to help troubleshoot your workspace. A clear label can eliminate several minutes of guesswork.
Manage Power Cables Safely
Electrical cable management should be treated differently from ordinary desktop organization. A neat appearance does not make an overloaded power strip safe. Before arranging power cables, inspect them for visible damage and check the ratings and instructions for your power strips, adapters, and extension cords.
The U.S. Consumer Product Safety Commission warns against overloading extension cords and power strips. It also recommends replacing cords that show damage. OSHA guidance similarly emphasizes that you should keep flexible cords in safe condition and avoid situations that could damage them or create hazards.
| Problem | Safer Approach |
|---|---|
| Frayed electrical cord | Stop using it and replace it appropriately. |
| Cable across a walkway | Find a safer route or secure it appropriately. |
| Overloaded power strip | Reduce the load and follow its rating. |
| Loose power adapter | Keep it supported and away from hazards. |
Do not hide a questionable electrical cord simply because it is behind the desk. If a cord becomes cracked, frayed, unusually hot, or otherwise damaged, address the electrical problem first.
Organize Data, Display, and Audio Cables
Data, display, and audio cables often need more flexibility than permanent power connections. A creator may connect a camera one day, an external drive the next, and an audio interface later. Creating a massive permanent bundle can make these changes unnecessarily difficult. Keep removable cables separate from permanent connections where practical. This gives you a clearer troubleshooting path. If a camera suddenly fails to connect, you can inspect its cable without disturbing the power connections for the rest of the desk.
Avoid sharply bending cables near connectors. Repeated stress around a plug can eventually cause problems. Provide the connector enough slack to avoid pulling directly against the device port. For audio equipment, a logical signal path is particularly useful. If a microphone connects to an audio interface and the interface connects to a computer, keep those connections easy to trace. Labeling both ends of similar audio cables can save time when troubleshooting recording problems.
Create a Dedicated Charging Area
Phones, tablets, cameras, headphones, batteries, and other portable devices can create a separate collection of cable clutter. Instead of leaving chargers scattered around the desk, create a dedicated charging area. This can be a small section of the desktop, a shelf, or another convenient location. Keep the cables you use every day within reach and store less frequently used charging cords elsewhere. A small organizer can prevent connectors from becoming mixed together.
Remember that cables with the same connector shape do not necessarily provide the same capabilities. Some may differ in charging or data performance. When a cable came with an important device, keeping it identified can make future troubleshooting easier. Keep the charging area visible enough that you can notice damaged connectors or insulation. A pile of chargers hidden inside a drawer is harder to inspect and easier to forget.
Store Spare Cables Properly
Once your active workspace is organized, please take care of the remaining cables. Putting every spare cable into one large box simply moves the clutter from your desk to a drawer. Instead, create broad categories such as USB, display, audio, networking, and power adapters. You do not need a complicated filing system. The purpose is simply to make the cable you need easy to find later.
Store cables in loose coils rather than tightly bending them into tiny bundles. Reusable straps are useful because they keep cables contained without requiring you to cut anything when you need one. Device-specific cables can be stored with a simple label identifying their intended equipment. If you are unsure whether an old cable is useful, place it in a temporary “identify later” container instead of allowing it to return to the active workspace.
Cable Management Mistakes to Avoid
One of the biggest mistakes is bundling everything together. A giant bundle may look tidy from a distance, but it becomes difficult to troubleshoot or modify. If one cable fails, you may have to disturb the entire group. Another mistake is permanently securing cables that need to move. Creator setups change frequently, so some connections should remain flexible. A microphone boom arm, adjustable monitor, or frequently disconnected camera needs room to move.
Using too many adhesive clips can also create problems. Adhesives can damage some surfaces, and poorly placed clips can leave residue. Test the attachment method on an inconspicuous area before installing many clips. Do not make cables excessively tight. A small amount of slack is useful because it reduces strain when equipment moves. Also avoid creating sharp bends simply to make the route appear shorter. Finally, do not confuse hidden cables with organized cables. A cable buried behind furniture is still difficult to maintain if you cannot identify or reach it.
Maintain Your Cable System
Cable organization is not a one-time project. New equipment eventually arrives, old equipment is removed, and cables change locations. Without occasional maintenance, even a well-organized desk slowly becomes cluttered again. Inspect the workspace whenever you add or remove equipment. Look for disconnected cables, loose straps, unnecessary adapters, damaged cords, and wires that have fallen onto the floor. A quick inspection at these moments is usually easier than waiting until the entire setup needs reorganizing.
Every few months, perform a more complete check. Clean behind the equipment, remove cables you no longer need, and confirm that your labels are still accurate. If you have replaced a camera or monitor, remove the old cable rather than leaving it behind “just in case.” A useful rule is to remove before you add. When new equipment replaces something old, remove the old connections first. This prevents obsolete cables from becoming permanent residents of the workspace.
Troubleshoot a Messy Cable Setup
If your workspace is already tangled, do not try to reorganize everything while every device is still connected. Start slowly and identify the important connections. When appropriate, shut down equipment before disconnecting cables, especially when working around powered devices.
- Identify the main power connections.
- Identify the computer and essential peripherals.
- Trace each important cable from one end to the other.
- Separate active connections from unused cables.
- Remove unnecessary connections.
- Group the remaining cables by their purpose and frequency of use.
- Create practical routes along the desk.
- Label cables that may be difficult to identify later.
- Leave enough slack around movable equipment.
- Please check the finished setup for any trip hazards and damaged cords.
If something stops working after reorganizing the cables, resist the temptation to unplug everything again. Start with the affected device and trace its connection step by step. Check the connector, cable, port, power source, and any hub or adapter between the two devices. A logical cable layout makes this process much easier.
Expert tip: Take a photo of the rear of your workspace after completing a major setup. It can serve as a useful reference when reconnecting equipment after cleaning, moving, or upgrading your desk.
Conclusion
You don’t need to hide every cable or purchase a lot of expensive equipment to enhance your workspace. Often, a simple system that fits your workflow yields the best results. First, check your cables, remove unnecessary connections, and separate the cables of stationary devices from those you move frequently.
Before securing cables, plan the route; clear the underside of your desk; label important connections; and ensure sufficient cable length around mobile devices. Pay extra attention to cables and avoid methods that could damage or overload them. Store excess cables separately to prevent them from ending up back on your workspace.
Most importantly, be prepared for changes in cable management. Workspaces are rarely static. Cameras, microphones, monitors, storage devices, lights, and computers may need to be replaced or moved at some point. A well-designed cable system makes these adjustments simple and easy (instead of having to start all over again).

Riley Bennett writes about content creation, streaming gear, and building efficient creator workflows at estergamer.com. After spending years testing equipment and figuring out what actually works versus what just looks impressive, Riley focuses on practical, no-nonsense advice for beginners starting from scratch. When not writing, Riley enjoys exploring new tech, refining home studio setups, and helping fellow creators skip the expensive mistakes that slow most people down. The goal is simple: honest guidance that gets real results without the marketing fluff.