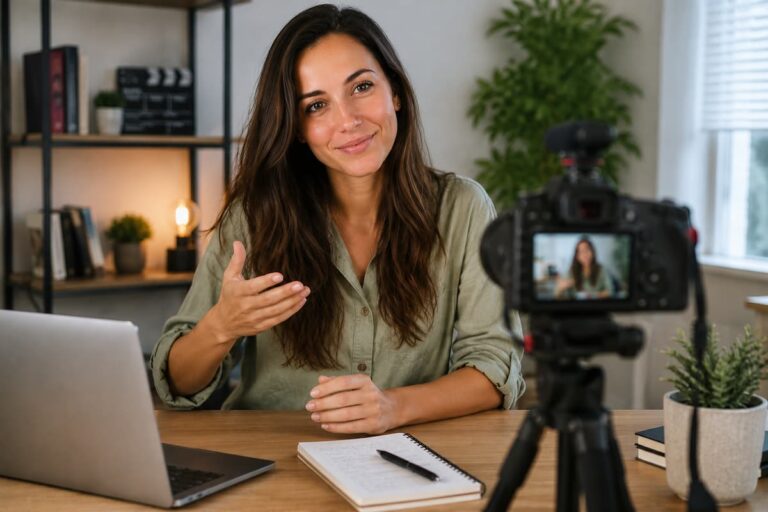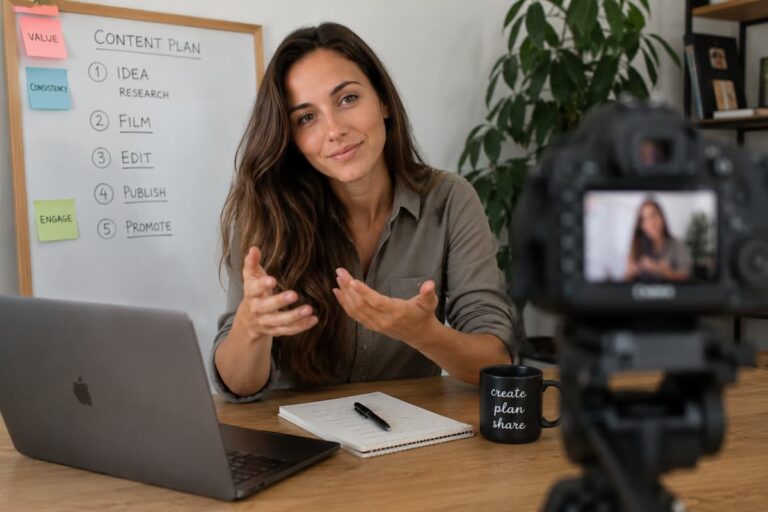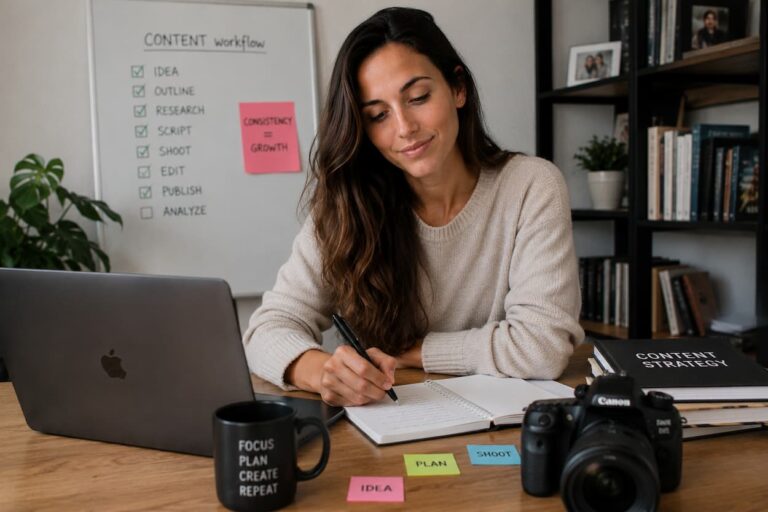
Walk through any camera store and the message is unmistakable: your videos look amateur because your tools are cheap. Buy this lens. Upgrade this body. Add this light. The subtext is that professional results require professional prices, and anything less is a compromise you should feel bad about. This is a profitable lie. It is also a lie that keeps talented creators from ever starting, because they believe they cannot afford the threshold of legitimacy.
The reality is that professional-looking video emerges from a handful of decisions made consistently, not from a specific price point of equipment. A $3,000 camera in the hands of someone who ignores composition, lighting, and audio will produce $3,000 worth of disappointment. A $200 phone in the hands of someone who understands these fundamentals will produce content that audiences trust and return to. The tool is not the determinant. The operator is.
This article examines the specific techniques that create the illusion of high production value, using either free tools, already owned, or available for minimal investment. The focus is on maximum perceptual impact for minimum resource expenditure. Not because minimal resources are virtuous, but because understanding which techniques matter allows intelligent allocation of whatever budget exists, now or in the future.
The Smartphone as Primary Camera: Constraints That Force Creativity
Modern smartphones capture 4K video at 60 frames per second with dynamic range that exceeds professional cameras from a decade ago. The limitation is not sensor quality. It is operator control. Smartphones automate everything—exposure, focus, white balance, stabilization—which produces consistent but creatively flat results. The path to professional-looking smartphone video is not buying a better phone. It is wresting control back from the automation.
Three control interventions transform smartphone footage:
Manual exposure lock: Touch and hold on the screen where the subject is. The phone locks exposure and focus to that point. Without this lock, the phone constantly adjusts as the subject moves or lighting changes, creating visible pumping and hunting that reads as amateur. The lock creates stability. The viewer perceives intentionality.
Grid overlay activation: Every phone camera app has a grid option in settings. Enable it. The grid imposes the rule of thirds visually, preventing the centered compositions that automation defaults to. It also helps maintain level horizons, which are the single fastest indicator of whether a video was composed or merely pointed.
Audio separation: The phone’s built-in microphone captures everything—wind, handling noise, and the operator’s breathing. Professional-looking video requires professional-sounding audio, and the phone’s internal mic cannot deliver this, regardless of how new the phone is. A $20 lavalier microphone plugged into the headphone jack (or lightning/USB-C adapter) captures clean voice at close proximity. The visual quality remains identical. The perceived quality doubles because audio is the trust signal.
📱 The Smartphone Professional Test
Record the same scene twice. First, with default automatic settings, a handheld internal microphone. Second, with manual exposure lock, grid overlay, a phone mounted on a stack of books at eye level, and a $20 lavalier microphone clipped to the subject’s collar. Play both clips for someone who does not know the test. Ask which was filmed with the “better camera.” The second clip will be identified as professional equipment in approximately 90% of cases. The camera is identical. The control is different. The perception is different. This is the core principle: professional-looking video is not about sensor size. It is about operator decisions that signal intentionality.
Natural Light as Studio Light: The Window as Primary Source
Professional lighting equipment is expensive, bulky, and often unnecessary for the content that most creators produce. The sun is free, available daily, and produces a quality of light that no artificial source perfectly replicates. The challenge is not accessing natural light. It is controlling it.
The fundamental technique is positioning the subject relative to the window, not the window relative to the subject. Most people place themselves with the window behind them, creating backlighting that silhouettes the face and forces the camera to expose for the bright background, leaving the subject underexposed. The fix is rotation: face the window. Let the light fall on the face. The background becomes secondary, and the camera exposes for the subject.
Three window configurations and their effects:
| Window Position | Light Quality | Best Application |
| Directly facing (subject faces window) | Flat, even, minimal shadow | Interviews, tutorials, any content requiring clarity and approachability |
| 45-degree side (window at subject’s side) | Dimensional, one side lit, one side shadowed | Vlogs, narrative content, any context where visual interest and mood are desired |
| Side with the reflector (white poster board opposite the window). | Soft key light with gentle fill, approaching three-point quality | Highest-quality natural light setup, approaching studio appearance |
The reflector is the critical addition that elevates natural light from acceptable to professional. A white poster board, a bedsheet stretched over a chair, or a piece of foam core from a craft store costs under $5 and reflects window light back into the shadowed side of the face. This single tool transforms a single-source setup into an approximation of two-point lighting. The shadowed side is not eliminated—elimination looks flat—but softened, creating dimensionality without harsh contrast.
Timing matters. Morning and late afternoon light (the “golden hours”) is warmer and softer due to atmospheric scattering. Midday light is harsher and cooler. North-facing windows (in the northern hemisphere) provide consistent, indirect light throughout the day. South-facing windows receive direct sun and require diffusion—a white curtain or a bedsheet hung over the window—to prevent harsh shadows and blown highlights. The window is not merely a light source. It is a variable tool that responds to time, orientation, and modification.
Stabilization Without Equipment: The Body as Gimbal
Shaky footage is the fastest indicator of amateur production. It signals handheld, unplanned, spontaneous recording. Professional footage, even when handheld, feels stable. The difference is not equipment. It is body mechanics.
The smartphone gimbal is a popular purchase, and it does produce smooth results. But it adds bulk, requires charging, and introduces a setup step that discourages spontaneous recording. The body can achieve 80% of gimbal stability with technique alone, at zero cost and zero setup time.
The stabilization hierarchy, from most to least stable:
- Tripod or fixed mount: Zero movement. The baseline of stability. Used for interviews, tutorials, and any static composition.
- Body braced against wall or furniture: The body becomes a tripod. Elbows tucked, back against the wall, phone held with both hands. Movement is reduced to near-zero.
- Elbows tucked, phone held at chest: The elbows create a triangle with the torso, stabilizing the arms. The phone is held with both hands, thumbs and fingers forming a cage. This is the standard handheld position.
- Walking with bent knees, heel-to-toe steps: The knees act as shock absorbers. The heel-to-toe roll minimizes vertical bounce. The phone is held at chest level with elbows tucked. This produces usable walking footage without a gimbal.
- Free-form handheld: Arms extended, single-handed grip, walking normally. Maximum shake. Minimum professionalism. Avoid unless the shake is an intentional stylistic choice.
⚠️ The Gimbal Dependency Warning
Gimbals produce smooth footage, but they also produce a specific visual signature: the floating, disconnected camera movement that feels robotic and detached. This signature is appropriate for real estate tours, product showcases, and cinematic B-roll. It is inappropriate for vlogs, interviews, and any content where the camera should feel present and human. The slight, organic movement of a properly braced handheld shot signals “a person is holding this,” which creates intimacy and trust. The gimbal’s perfection signals “a machine is holding this,” which creates distance. Use gimbals for specific purposes. Do not default to them. The body, properly used, produces more appropriate movement for most content types.
Background Control: The Environment as Character
The background is not merely what is behind the subject. It is an active participant in the viewer’s perception. A cluttered background signals disorganization. A blank background signals emptiness. A branded background signals intentionality. The background is read before the subject is heard, and it frames every word that follows.
Background control requires no equipment. It requires curation. The process is subtraction, not addition. Remove everything that does not serve the content. Remove visual clutter. Remove distracting colors. Remove movement that competes with the subject. The ideal background is either neutral (a solid wall, a curtain) or purposeful (a bookshelf, a workspace, a branded banner).
The depth separation technique: place the subject as far from the background as the room allows. Six feet is a minimum. Twelve feet is ideal. This separation creates natural blur (bokeh) even on smartphone cameras, which have small sensors and wide depth of field. The background softens. The subject pops forward. The image gains dimensionality without any lens upgrade.
Practical background modifications:
- Turn off ceiling lights that create top-down shadows. Use window light as the primary source.
- Remove reflective surfaces that catch light and create hotspots in the frame.
- Angle the background slightly so it is not flat to the camera. A slight angle creates depth and shadow variation.
- Add one intentional element: a plant, a piece of art, a shelf with curated objects. This prevents the background from feeling sterile while maintaining control.
Audio as the Professionalism Multiplier
Video quality is evaluated visually. Content quality is evaluated audibly. The voice carries the information, the emotion, and the trust. Poor audio undermines the most beautiful footage. Clean audio elevates the most basic footage. Audio is the multiplier that determines whether the viewer perceives the content as professional or amateur.
The smartphone’s internal microphone is designed for convenience, not quality. It captures omnidirectional sound—everything in the environment equally. It also captures handling noise, wind, and the phone’s own operational sounds. The upgrade path is not a better phone. It is a separated microphone.
Options at minimal cost:
Wired lavalier microphone: $15-30. Clips to the subject’s collar. Captures voice at 6-8 inches from the mouth. Rejects ambient sound due to proximity. The cable is visible but acceptable for static shots. The audio quality is dramatically better than the phone’s internal mic.
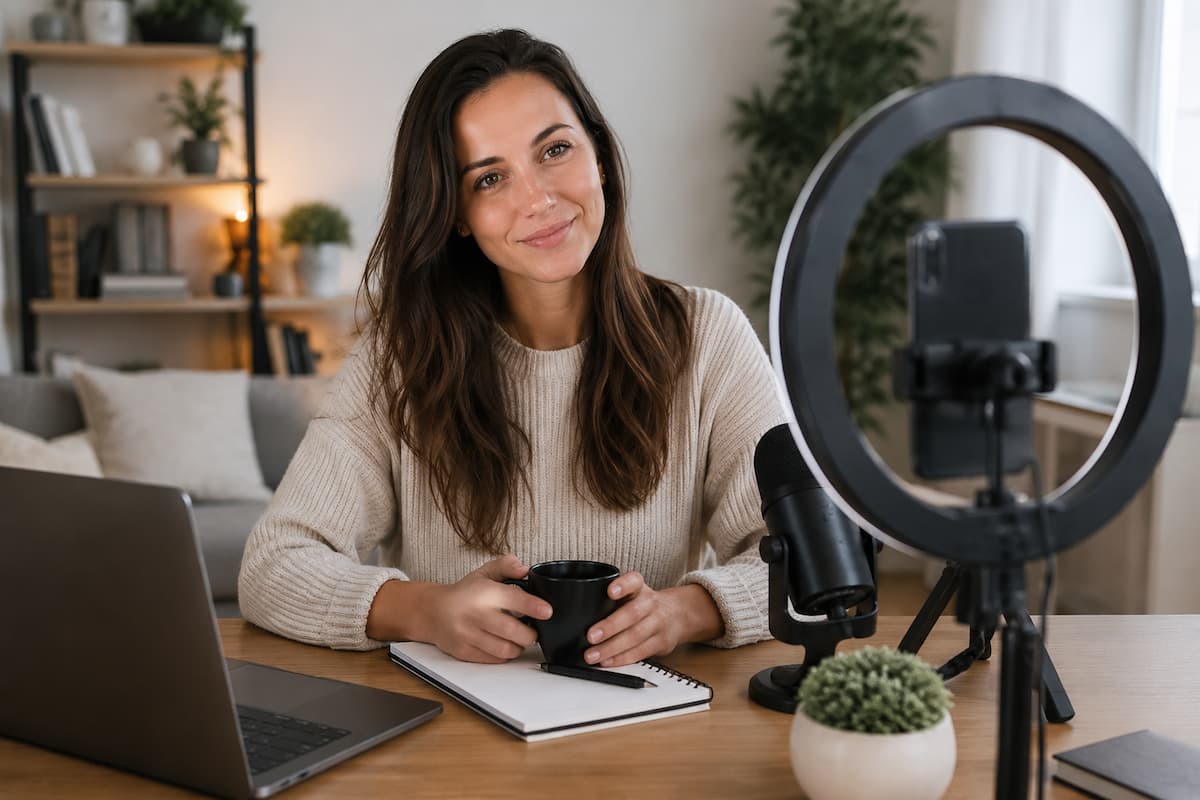
USB microphone on a laptop: If the video is a screen recording or static webcam, a $50 USB condenser or dynamic microphone positioned 6-12 inches from the mouth produces broadcast-quality audio. The video source (webcam or screen capture) is secondary to the audio quality.
Phone as wireless microphone: Apps exist that turn a second phone into a wireless microphone, transmitting to the recording phone over WiFi or Bluetooth. The second phone is clipped to the subject. The recording phone handles the camera. This eliminates the visible cable while maintaining proximity audio quality.
✅ The Audio-First Evaluation
Before publishing any video, perform this test: play the audio alone, without watching the picture. Close your eyes. Can you understand every word? Is there hiss, echo, or background noise that distracts? Does the voice sound present and clear, or distant and muffled? If the audio fails this test, the video is not ready regardless of how good the footage looks. Fix the audio. Re-record if necessary. The visual can be basic. The audio cannot be compromised. This is the non-negotiable standard that separates professional content from amateur content. Viewers forgive a slightly soft focus. They will not forgive a voice they cannot hear clearly.
Editing Discipline: The Cut That Creates Professionalism
Professional-looking video is not shot. It is assembled. The editing process is where raw footage becomes content. The editing decisions are what the viewer perceives as “production quality,” often without recognizing that editing is the source.
The fundamental editing discipline for simple tools is restraint. Use hard cuts exclusively. No transitions. No effects. No text animations. These elements draw attention to themselves, which draws attention away from the content. A hard cut is invisible when the content flows. A dissolve is always visible. A wipe is always visible. A star wipe is a resignation letter to professionalism.
The J-cut and L-cut, introduced in the editing basics article, are the only “advanced” techniques needed. Audio from the next clip begins before the picture changes (J-cut). Audio from the previous clip continues over the new picture (L-cut). These create smoothness without visual effects. They are felt, not seen. They are the signature of professional editing because they are the signature of professional thinking about continuity.
Pacing is controlled by clip duration. A clip that is held too long feels static. A clip that cuts too quickly feels frantic. The standard is to cut when the information is delivered. For a talking head, this means cutting at the end of a complete thought or sentence. For B-roll, this means cutting when the action is complete. For a screen recording, this means cutting when the demonstrated action is clear. The cut is not a punctuation mark. It is a decision about when the viewer has received enough information to move forward.
The Perception Stack: How Simple Tools Create Professional Impression
Professional-looking video is not a single attribute. It is a stack of attributes that compound. Each layer adds credibility. Missing layers do not necessarily destroy credibility, but they prevent the full professional impression from forming.
| Layer | Simple Tool Implementation | Perceptual Effect |
| Composition | Grid overlay, rule of thirds, headroom control | Signals intentionality and visual literacy |
| Lighting | Window positioning, poster board reflector | Signals preparation and attention to subject presentation |
| Stability | Body bracing, book-stack mount, heel-to-toe walking | Signals technical competence and viewer respect |
| Background | Curation, subtraction, depth separation | Signals environmental control and brand awareness |
| Audio | Lavalier microphone, proximity recording, quiet environment | Signals professionalism and production investment |
| Editing | Hard cuts, J-cuts, L-cuts, pacing control | Signals narrative competence and audience awareness |
Each layer is achievable with tools that cost under $50 total, or with no cost at all. The smartphone is already owned. The window is already present. The body is already available. The editing software is free. The only investment is attention and practice. The return is a professional impression that outperforms content produced with equipment costing ten times as much, operated by creators who skipped these fundamentals.
The professional-looking video is not a destination. It is a practice. Each video implements these layers more automatically. Each video requires less conscious effort to achieve the baseline. The creator who masters these simple tools does not need expensive equipment to produce professional content. They need expensive equipment only when the content demands capabilities that simple tools cannot provide—specialized lenses, extreme low light, complex motion, and multi-camera synchronization. Until those demands arise, the simple tools are sufficient. The creator who recognizes this sufficiency is free to focus on content, audience, and growth, rather than on the perpetual chase for the next equipment upgrade.

Riley Bennett writes about content creation, streaming gear, and building efficient creator workflows at estergamer.com. After spending years testing equipment and figuring out what actually works versus what just looks impressive, Riley focuses on practical, no-nonsense advice for beginners starting from scratch. When not writing, Riley enjoys exploring new tech, refining home studio setups, and helping fellow creators skip the expensive mistakes that slow most people down. The goal is simple: honest guidance that gets real results without the marketing fluff.