My first edit took fourteen hours. Fourteen hours for a three-minute video. I cut every “um” manually. I added transitions between every single clip. I color-corrected footage that didn’t need correcting. I exported in 4K because bigger numbers felt safer. The file was 8 gigabytes. It took two hours to upload. Three people watched it. One of them was me, checking if it worked.
I didn’t understand what editing was for. I thought it was decoration. Making things flashy. Adding sparkle to mediocre footage. That’s not editing. Editing is decision-making. It’s choosing what stays, what goes, and what order tells the story you actually want to tell. Everything else—transitions, effects, color grading—is optional seasoning. The meal is the sequence of shots and the rhythm between them.
If you’re starting from zero, the software doesn’t matter. DaVinci Resolve, Premiere Pro, Final Cut, iMovie, CapCut—they all do the same fundamental things. What matters is learning the language of editing before you learn the buttons. The buttons change. The language doesn’t.
The Timeline Is Your Canvas, Not Your Crutch
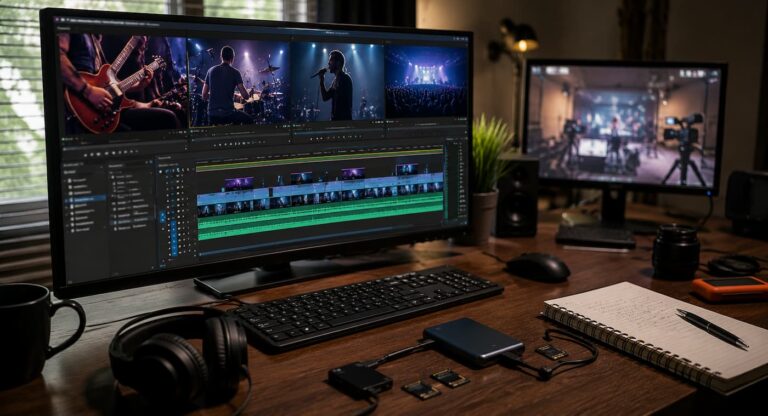
Every editing program has a timeline. It’s the horizontal strip where clips live, left to right, start to finish. Beginners treat it like a conveyor belt. Footage goes in at the left, comes out at the right, done. That’s assembly, not editing.
The timeline is a musical score. Clips are notes. The spaces between them are rests. The pacing is the tempo. A good editor reads the timeline like a composer reads sheet music, feeling the rhythm before hearing it played back.
Here’s the habit that changed everything for me: before adding a single transition or effect, I lay out my rough cut with hard cuts only. No fades. No dissolves. No music. Just the essential clips in an order that makes sense. Then I watch it. If it works as a silent, cut-only sequence, the foundation is solid. If it doesn’t, no amount of polish will save it. This is the “radio edit” test. If your story works without visuals, your visuals are an enhancement. If it doesn’t work without visuals, your visuals are a crutch.
💡 What I Learned the Hard Way
I spent my first six months collecting transition packs. Star wipes. Page curls. Lens flares. I used them all. My videos looked like a PowerPoint presentation designed by a caffeinated squirrel. Then a filmmaker friend watched one and asked, “What are these transitions hiding?” I didn’t understand. He explained: every transition is an admission that the cut didn’t work.” A hard cut is confident. It says “these two shots belong together.” A dissolute says, “I’m not sure, so I’ll blur the boundary.” A star wipe says “I have no idea what I’m doing.” I deleted every transition pack that night. My edits got faster. My videos got better. The audience noticed before I did.
The Three-Point Edit: The Move That Separates Amateurs From Editors
Before you touch the timeline, you select footage. This is called logging or marking. You watch your raw clips and decide which portions are usable. Every editing program has a way to mark “in” and “out” points on a clip—where the usable section begins and ends. This is called a three-point edit because you set two points on the source clip (in and out) and one point on the timeline (where it lands).
Beginners skip this. They drag entire clips onto the timeline, then trim them there. This is like bringing a whole grocery store into your kitchen and then deciding what to cook. The timeline becomes cluttered. The computer slows down. The editor gets overwhelmed by options.
The three-point edit forces decision-making upstream. Before a clip touches the timeline, you’ve already decided its best portion. The timeline contains only deliberate choices. This discipline transforms editing from a scavenger hunt into a construction project.
My workflow now: watch every clip once without editing. Mark the best sections with in/out points. Then assemble the rough cut using only those marked sections. Then refine. Then add polish. Each stage has a single job. Mixing stages creates chaos.
J-Cuts and L-Cuts: The Invisible Magic
These two techniques are responsible for 90% of what makes professional video feel “professional.” They’re invisible when done right. You don’t notice them. You just feel the smoothness.
An L-cut is when the audio from clip A continues over the beginning of clip B. The picture changes, but the sound lingers. The name comes from the shape on the timeline—the video clip is shorter than the audio clip, forming an L shape.
A J-cut is the reverse: the audio from clip B starts before the picture changes. You hear the next scene before you see it. The audio clip extends left of the video clip, forming a J shape.
These aren’t fancy transitions. They’re hard cuts with asynchronous audio. And they solve the biggest problem in amateur editing: the dead space between clips. When picture and audio cut simultaneously, the viewer feels the edit. When audio leads or follows, the viewer flows through the edit without noticing it.
Every interview you’ve ever watched uses L-cuts constantly. The speaker finishes talking. The camera cuts to the listener nodding. But the speaker’s voice continues for a half-second over the new shot. Without that overlap, the cut would feel jarring. With it, the conversation feels continuous even though the shots are from different takes.
I didn’t learn J-cuts and L-cuts until my second year of editing. Once I did, my videos felt “more professional” without changing anything else. Same footage. Same camera. Same lighting. Just audio that breathes across picture changes. That’s the power of invisible technique.
⚠️ The Overlap Rule
J-cuts and L-cuts work because of subtlety. The overlap should be 10-20 frames at most. Half a second. Any longer and the viewer notices the audio mismatch and starts wondering why the picture doesn’t match the sound. Any shorter and the smoothing effect disappears. The sweet spot is when the viewer doesn’t consciously register the overlap but feels the scene as continuous. Test your overlaps by watching with eyes closed. If you can hear the cut, it’s too abrupt. If you can’t hear the cut at all, it’s working. If the audio sounds like it’s coming from the wrong scene for more than a moment, it’s too long.
The B-Roll Trap and How to Escape It
B-roll is supplementary footage. The main interview or action is A-roll. The cutaways, establishing shots, close-ups, and atmospheric footage are B-roll. Beginners are told “use lots of B-roll” and interpret this as “cover every talking head moment with something else.”
This is wrong. B-roll isn’t decoration. It’s punctuation. It serves specific editorial functions:
- Illustration: Showing what the speaker describes. If someone says “the interface looks like this,” cut to the interface. The picture replaces the description.
- Transition: Covering a jump cut in A-roll. If you removed a section of an interview and the speaker’s head position jumps, B-roll covers the seam.
- Pacing: Breaking visual monotony. But only when the monotony is actually a problem. A compelling speaker in a well-lit close-up doesn’t need breaking.
- Emphasis: Adding emotional weight. A wide shot of an empty room after someone says “I left everything behind.” The picture amplifies the words.
I used to lay B-roll on a separate track and randomly drop it over my A-roll whenever the talking head felt “too long.” This created visual chaos. The viewer’s eye had nowhere to rest. Now I ask: what is this B-roll doing? If I can’t answer in one sentence, it doesn’t go in.
Pacing: The Rhythm Nobody Teaches
Pacing is the speed at which information arrives. Too fast, and the viewer can’t process. Too slow, and the viewer gets bored. The right pace depends on the content, the audience, and the platform.
YouTube audiences tolerate slower pacing than TikTok audiences. Tutorial viewers expect methodical pacing. Vlog viewers expect energetic pacing. There is no universal “correct” pace. There is only the pace that matches the viewer’s expectations for that specific content type.
The tool for pacing is the cut point. Where you cut determines how fast the sequence feels. Cut on action—when the subject moves—and the edit feels invisible. Cut on stillness and the edit feels deliberate, possibly jarring. Cut before the action completes and the viewer feels anticipation. Cut after the action completes and the viewer feels resolution.
| Cut Timing | Effect on Pacing | Best Used For |
| Cut on action peak | Invisible, fluid, maintains momentum | Continuous action, movement-based content, sports |
| Cut before action completes | Creates anticipation, slight tension | Suspense, reveals, transitions between scenes |
| Cut after action settles | Provides resolution, breathing room | Emotional beats, conclusions, contemplative moments |
| Cut on stillness | Feels deliberate, possibly jarring | Comedic timing, emphasis, shock value |
I learned pacing by editing to music. Not adding music to finished edits—editing the picture to the rhythm of a track. The beat becomes your metronome. You feel where cuts should land. This musical editing sense transfers to dialogue-driven content too. Every speaker has rhythm. Sentence cadence. Breath patterns. Edit with those rhythms, not against them, and the pacing feels natural even in a talking-head video.
Color Correction vs. Color Grading: Know Which You’re Doing
These terms get used interchangeably. They’re different jobs. Color correction fixes problems. Color grading creates style. Beginners try to grade before they correct, which is like painting a house before fixing the cracks.
Color correction is three things: exposure balance (are shots too dark or too bright?), white balance (are whites actually white or are they orange/blue?), and shot-to-shot consistency (does the same scene look the same in every clip?). Correction is objective. There is a correct exposure. There is a correct white balance. Your job is to hit them.
Color grading is subjective. It’s the “look.” Warm and nostalgic. Cold and clinical. Saturated and vibrant. Desaturated and moody. Grading is a creative choice. But it only works on properly corrected footage. Grading an underexposed clip doesn’t create mood—it creates mud.
My correction workflow: set exposure using the waveform monitor. Skin tones should sit around 50-70 IRE on the waveform. Set white balance using the vectorscope. White should be neutral, not pulling toward red or blue. Match shots using a split-screen reference. Then, and only then, apply a creative grade if the content calls for it.
Most beginner content doesn’t need grading. It needs correction. Correct footage looks professional. Graded footage looks stylized. Style without foundation is costume.
✅ The Correction-First Check
Before applying any “cinematic LUT” or “film look” preset, disable it and ask three questions: Is the exposure consistent across all clips? Are the whites neutral? Does skin tone look natural? If any answer is no, fix those issues first. A neutral, correctly exposed video looks more professional than a stylized video with orange skin and crushed shadows. The LUT will not fix your exposure. It will make bad exposure look deliberately bad. Correct first. Grade second. Only if necessary.
Export: The Final Place Beginners Destroy Their Work
You edited carefully. You paced thoughtfully. You corrected the color. Now you export, and everything looks wrong. Too dark. Too compressed. Audio out of sync. This is the export phase, where technical decisions made in haste undo creative decisions made with care.
Export settings depend on destination. There is no universal “best” setting. YouTube wants H.264 at -14 LUFS audio loudness. Instagram wants vertical 9:16. TikTok wants aggressive compression tolerance. A master archive wants ProRes or DNxHR for future flexibility.
The common mistake is exporting once and uploading everywhere. YouTube recompresses your upload. Instagram recompresses it differently. TikTok recompresses it again. Each platform’s compression algorithm has different strengths and weaknesses. A file that looks great on YouTube might look blocky on TikTok because TikTok’s algorithm handles motion differently.
My approach: export a master in high quality (ProRes 422 or high-bitrate H.264). This is the archive. Then export platform-specific versions from that master. YouTube gets a dedicated H.264 with specific audio loudness. Vertical platforms get a dedicated 9:16 reframe. Each version is optimized for its destination’s compression behavior. More work? Yes. Better results? Absolutely.
For audio: export at -16 LUFS integrated for stereo content, -19 LUFS for mono. This is the podcast and YouTube standard. Louder exports get turned down by platform normalization, potentially revealing noise you didn’t hear. Quieter exports get turned up, amplifying the noise floor. Match the standard and the platform does nothing to your audio. That’s the goal.
The Software Question Nobody Actually Needs to Ask
DaVinci Resolve is free and does everything. Premiere Pro is industry standard and costs monthly. Final Cut is fast and Mac-only. iMovie is limited but free. CapCut is mobile-first and surprisingly capable. They all cut. They all transition. They all color-correct. They all export.
The software that will make you a better editor is the one you actually use. Not the one with the most features. Not the one professionals use. The one whose interface doesn’t make you want to quit. I started on iMovie because it was on my computer. I outgrew it in six months. I moved to DaVinci Resolve because it was free and I was broke. I stayed because it taught me color correction and audio mixing in ways the other programs didn’t emphasize. The software shaped my skills because of what it prioritized.
If you edit three videos and quit, the software doesn’t matter. If you edit three hundred, the software becomes an extension of your decision-making. Pick one. Learn it deeply. Switch only when you’ve genuinely hit a limitation, not when you feel bored. Boredom is not a software problem. It’s a practice problem.
🎯 The One-Hour Rule
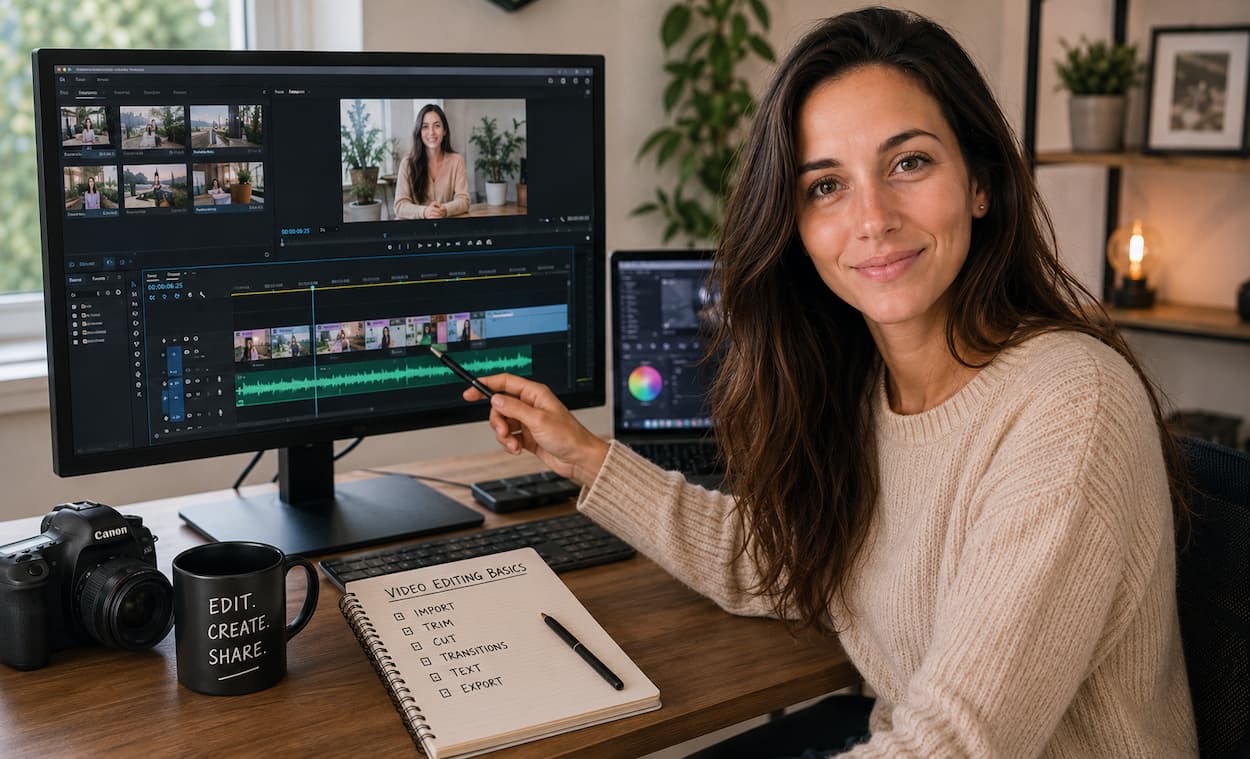
Spend your first hour in any editing program learning five things and only five things: how to import footage, how to make a cut, how to delete a clip, how to adjust audio levels, and how to export. Everything else—transitions, effects, color wheels, keyframes—is secondary until these five are automatic. Most beginners drown in features they don’t need because they skipped the fundamentals. An editor who can import, cut, delete, mix, and export can finish a video. An editor who knows twenty effects but can’t cut cleanly cannot. Fundamentals first. Flourish later. The one-hour rule keeps you focused on what matters.
Editing is the invisible craft. Viewers don’t praise good editing because they don’t see it. They feel it. They watch longer. They come back. They trust the creator. The edit is the architecture holding the content together. Bad architecture collapses under scrutiny. Good architecture disappears, letting the content stand alone. That’s the goal. Not to be noticed. To be felt.
Start with hard cuts. Learn J-cuts and L-cuts. Use B-roll with purpose. Pace with intention. Correct before you grade. Export for the destination. And above all, finish videos. An imperfect finished edit teaches more than a perfect unfinished one. The timeline is where you learn. The export button is where you graduate.

Riley Bennett writes about content creation, streaming gear, and building efficient creator workflows at estergamer.com. After spending years testing equipment and figuring out what actually works versus what just looks impressive, Riley focuses on practical, no-nonsense advice for beginners starting from scratch. When not writing, Riley enjoys exploring new tech, refining home studio setups, and helping fellow creators skip the expensive mistakes that slow most people down. The goal is simple: honest guidance that gets real results without the marketing fluff.