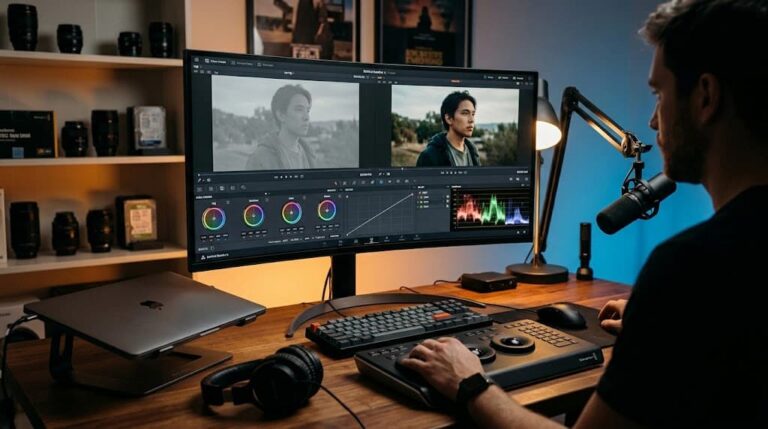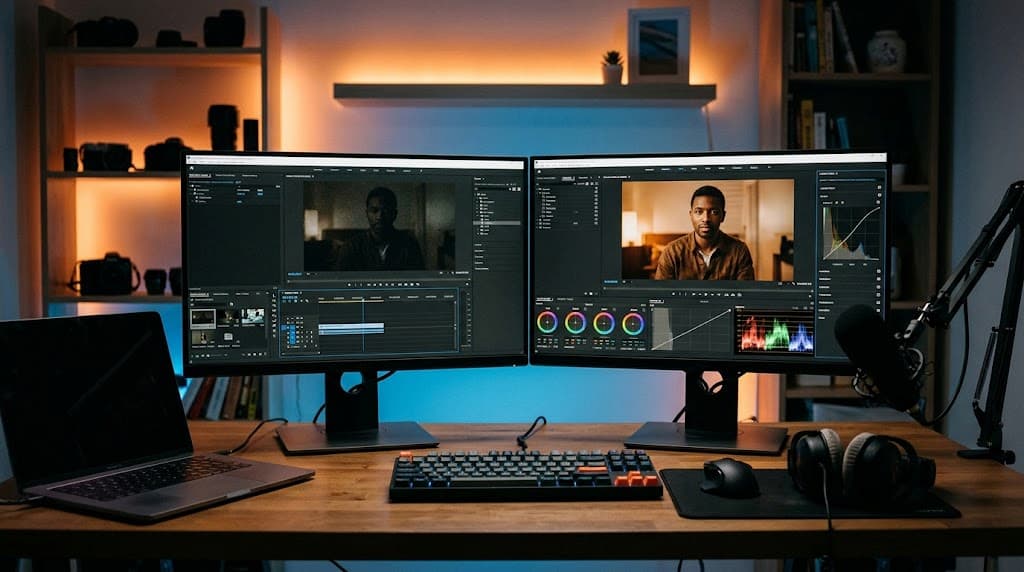
Every video creator has experienced the sinking feeling of opening footage on their computer, only to realize the lighting is completely wrong. You shot an entire 20-minute video, but the sun went behind a cloud, your key light died, or your camera’s ISO was set incorrectly. The footage is dark, muddy, and unusable in its current state.
The immediate instinct for most beginners is to open Premiere Pro, Final Cut, or DaVinci Resolve, grab the “Exposure” or “Brightness” slider, and violently drag it to the right until they can see their face again.
Doing this instantly destroys the video quality. The image becomes washed out, the dark areas fill with a blizzard of digital static (noise), and the colors shift into an unnatural, sickly grey.
Fixing poor lighting in post-production is not about making the whole image universally brighter. It is a surgical process of isolating specific areas of the frame, protecting your shadows, and managing the inevitable digital noise that occurs when you push a camera sensor past its limits. Here is exactly how to rescue badly lit footage without making it look like a cheap security camera feed.
The Anatomy of a Badly Lit Shot (And What You Can Actually Fix)
Before you touch a single color wheel, you need to understand what data actually exists in your video file. When a shot is improperly lit, it usually suffers from one of two fatal flaws: clipped highlights or crushed blacks.
If your footage is severely underexposed (too dark), the darkest parts of the image—like a black t-shirt or the shadows in the corner of the room—might be “crushed.” This means the camera recorded those pixels as pure, absolute black (0% luminance). There is no color data or detail left in those pixels. If you try to brighten pure black, the editing software has no data to reveal; it simply turns the black pixels into ugly, flat grey pixels.
Conversely, if a window behind you was too bright, it might be “blown out” or “clipped” to pure white (100% luminance). You cannot recover the trees outside that window, no matter how much you turn the exposure down.
Your goal in post-production is not to perform miracles on data that doesn’t exist. Your goal is to take the data that did survive in the “mid-tones” (usually where your skin tone sits) and carefully stretch it so the human eye perceives the lighting as natural.
The Right Way to Adjust Exposure: Using Curves, Not Sliders
The basic “Exposure” slider is a trap. When you increase the exposure slider, the software blindly multiplies the brightness of every single pixel in the frame equally. The shadows become bright grey, the mid-tones get brighter, and the highlights immediately blow out to pure white. It completely destroys the contrast of the image.
Instead of the basic slider, you must use the Luma Curve (or the RGB Curves panel).
The Curves tool is represented by a diagonal line on a graph. The bottom-left of the line represents your darkest shadows, the middle represents your mid-tones (skin), and the top-right represents your brightest highlights.
How to adjust the curve for dark footage:
-
Anchor the Shadows: Click on the bottom quarter of the line to create a “point.” Do not move it. This locks your deep shadows in place, ensuring your blacks stay rich and black instead of turning milky grey.
-
Anchor the Highlights: Click on the top quarter of the line to create another point, locking your bright areas (like practical lamps or windows) so they don’t blow out.
-
Lift the Mid-Tones: Click exactly in the middle of the line and gently drag it upward and slightly to the left.
By pulling up the middle of the curve while anchoring the ends, you are only brightening the mid-tones—which is exactly where your face and skin live. Your subject becomes visible and well-lit, but the room maintains its natural contrast, and the dark corners stay cleanly dark.
Rescuing Skin Tones with Radial Masking and Tracking
Often, the overall exposure of the room is perfectly fine, but your face is covered in dark, muddy shadows because you didn’t have a dedicated key light pointing at you.
If you brighten the entire image to save your face, the rest of the room will become blindingly bright. The solution is to isolate your face using a feathered mask.
The Isolation Workflow:
-
Create an adjustment layer (in Premiere) or a serial node (in DaVinci Resolve) over your dark footage.
-
Draw a circular mask directly over your face.
-
Critically important: increase the “Feather” or “Softness” of the mask heavily. If you do not feather the mask, it will look like there is a harsh, unnatural spotlight pointing at your head.
-
Inside that mask, slightly raise the exposure and increase the warmth (color temperature) just a fraction to bring life back into the skin.
-
Use your software’s built-in tracking tool to track the mask forward. As you lean left and right while talking to the camera, the invisible “spotlight” will automatically follow your face.
This technique creates incredible depth. By keeping the background slightly darker than the subject’s face, you direct the viewer’s eye exactly where you want it to go, mimicking the look of professional, high-end studio lighting.
Fixing the Inevitable Color Shifts (White Balance)
When footage is poorly lit, it is rarely just an exposure problem; it is almost always a color problem.
If you shoot in a dark room using only the glow of your computer monitors or cheap ceiling bulbs, your camera’s auto-white-balance usually panics. It attempts to compensate for the darkness by adding massive amounts of blue or orange tint to the footage. Once you brighten the footage using the Curves tool, this nasty color shift becomes glaringly obvious.
Before you consider your lighting “fixed,” you must neutralize the white balance.
Find something in your shot that is supposed to be pure white or neutral grey—the bezel of a light switch, a piece of paper on your desk, or a white t-shirt. Use the White Balance eyedropper tool in your color grading panel and click on that neutral object. The software will instantly strip out the ugly color casts.
If your skin still looks slightly sickly or green after doing this (which often happens when relying on cheap LED room lights), navigate to your Hue/Saturation curves. Select the color green, and gently pull its saturation down. Then, push a microscopic amount of magenta into the global tint slider to restore a healthy, natural flush to human skin.
The Final Polish: Denoising the Shadows
Here is the harsh reality of digital video: brightening dark footage always reveals digital noise.
When a camera sensor doesn’t receive enough physical light, it tries to guess what the missing data should look like. This guessing process results in “grain” or “noise”—a dancing, snowy pattern of red, green, and blue pixels that aggressively swarm the dark areas of your video.
If you lifted your mid-tones heavily, your footage will now be noisy. This ruins the professional aesthetic and absolutely destroys your video’s bitrate when you upload it to YouTube, making the final video look like a compressed, blocky mess.
You must apply noise reduction as the very last step in your post-production chain.
Do not use the basic blur tools; they just make your video look out of focus. You need dedicated temporal and spatial noise reduction.
-
If you use DaVinci Resolve Studio (the paid version), it possesses the best built-in noise reduction engine on the market. A simple 2-frame temporal noise reduction will clean up 90% of the grain without losing sharpness.
-
If you use Premiere Pro or Final Cut, you should invest in a third-party plugin like Neat Video. It samples a flat area of the noise in your specific shot, builds a custom profile, and surgically removes the static while preserving the actual texture of your skin and clothing.
Warning: Noise reduction is incredibly taxing on your computer’s GPU. Always apply it at the very end of your edit, right before you render. If you apply it while you are still cutting the timeline, your playback will stutter to a complete halt.
Fixing poor lighting in post-production is entirely possible, provided you respect the data your camera actually captured. By abandoning the exposure slider, utilizing careful masking, correcting color shifts, and aggressively targeting digital noise, you can take a muddy, unusable shot and turn it into a clean, professional asset. Just remember that post-production is a safety net, not a strategy. The best way to fix poor lighting will always be to turn on a light before you press record.

Riley Bennett writes about content creation, streaming gear, and building efficient creator workflows at estergamer.com. After spending years testing equipment and figuring out what actually works versus what just looks impressive, Riley focuses on practical, no-nonsense advice for beginners starting from scratch. When not writing, Riley enjoys exploring new tech, refining home studio setups, and helping fellow creators skip the expensive mistakes that slow most people down. The goal is simple: honest guidance that gets real results without the marketing fluff.