Picture this: you’ve spent three hours perfecting a video. The lighting is cinematic. The framing is precise. The color grade looks like it belongs in a theater. Then you play it back with headphones, and the audio sounds like it was recorded inside a tin can during a hailstorm. The voice is thin. The room’s echo is pronounced. There’s a faint hum underneath everything that you somehow didn’t notice while recording. The entire production collapses under the weight of its sound.
This scenario is not hypothetical. It is the most common failure mode in beginner and intermediate video production. Visual quality receives disproportionate attention because it is immediately visible. Audio quality is invisible until it is played back, by which point the production is complete and the problems are baked into the recording. The fix is not post-production magic. Post-production can mask problems; it cannot resurrect quality that was never captured. The fix is production discipline—decisions made before and during recording that determine whether the audio will support or undermine the final product.
What follows is a production-focused guide. Not a gear guide. Not a post-processing tutorial. These are the techniques that improve audio quality at the moment of capture, when the raw material is being created and the maximum quality is still achievable.
Room Tone: The Invisible Foundation
Every room has a sound. Not the sound of traffic outside or the refrigerator humming in the kitchen. The sound of the room itself—the way air moves in the space, the way surfaces reflect or absorb sound waves, the subtle resonance that gives each environment its acoustic fingerprint. This is room tone, and it is the canvas upon which all other audio is painted.
The goal is not to eliminate room tone. That is impossible without an anechoic chamber, which is an unpleasant environment for human recording. The goal is to control room tone so that it supports the voice rather than competing with it. A controlled room tone sounds like presence, like air, like space. An uncontrolled room tone sounds like an echo, like mud, like the speaker is in a bathroom.
Room tone control begins with assessment. The simplest method is the clap test. Stand in the recording position. Clap sharply once. Listen to the decay. Does the sound die immediately? The room is dead—possibly too dead, which creates a sterile, lifeless quality. Does the sound ring for a second or two? The room is live—reflective surfaces are bouncing sound back to the recording position. Does the sound change pitch or character as it decays? The room has resonant frequencies that will color the voice in specific, usually undesirable ways.
The clap test reveals what treatment is needed. A live room needs absorption. A dead room needs diffusion or reflection. Most home recording spaces are too live rather than too dead, because modern interiors favor hard surfaces: drywall, hardwood, glass, and tile. These surfaces reflect high frequencies efficiently, creating the bright, ringy echo that makes amateur recordings sound amateur.
🔊 The Room Tone Recording Protocol
Before any recording session, capture 30 seconds of silence in the recording position. No speaking. No movement. Just the room’s natural sound. Play it back at high volume through headphones. What do you hear? The HVAC system? Traffic rumble? Computer fans? Neighbor footsteps? Is the refrigerator cycling? Each sound is a problem that will be layered under your voice in every recording. Some can be eliminated (turn off the HVAC, unplug the refrigerator). Some can be reduced (move the computer tower outside the room). Some must be accepted and managed through microphone selection and positioning. The room tone recording is your diagnostic tool. It reveals problems while they are still fixable. If you skip this step, you will be recording blind, hoping the room is kind. Rooms are rarely kind.
Microphone Position: The Variable That Outperforms Equipment
A $50 microphone at the correct distance from the mouth outperforms a $500 microphone at the wrong distance. This is not hyperbole. It is the inverse square law applied to acoustics. Sound intensity decreases with the square of distance. Double the distance, quarter the intensity. The microphone must be close enough to capture the voice before room reflections and ambient noise overwhelm it.
The optimal distance depends on microphone type and pickup pattern:
| Microphone Type | Optimal Distance | Rationale |
| Dynamic handheld (SM58, etc.) | 1-3 inches from mouth | Designed for close proximity. The proximity effect adds low-end warmth. Off-axis rejection is strong at close range. |
| Dynamic large-diaphragm (SM7B, MV7) | 4-8 inches from mouth | Larger capsule needs more distance for full frequency capture. Still benefits from the proximity effect but less dramatically. |
| Small-diaphragm condenser | 8-12 inches from mouth | Sensitive capsule captures detail at a distance. Too close causes excessive bass and plosive sensitivity. |
| Lavalier (clip-on) | 6-8 inches below mouth, clipped to chest | Fixed position relative to mouth. Consistent regardless of head movement. Susceptible to clothing rustle. |
The angle matters as much as the distance. Microphones should be aimed at the mouth, not the nose or forehead. The mouth is the sound source. The nose and forehead are reflective surfaces that create phase cancellation and coloration. A microphone positioned below the mouth (common with desk-mounted setups) captures more chest resonance and less articulation. A microphone positioned above the mouth (common with boom-mounted setups) captures more sibilance and less warmth. The ideal position is slightly off-axis from the mouth, angled to catch the voice while avoiding direct plosive impact.
Plosives—the burst of air from P, B, and T sounds—are the enemy of close microphone positioning. A pop filter or windscreen is essential at distances under 6 inches. The pop filter should be 2-3 inches from the microphone and 2-3 inches from the mouth, creating a buffer zone that dissipates the air burst before it reaches the capsule. Without this buffer, plosives create low-frequency thumps that distort the recording and require aggressive post-processing to remove.
Gain Staging: The Technical Discipline That Prevents Disaster
Gain staging is the management of signal levels from the sound source through the recording chain to the final file. Proper gain staging ensures that the voice is loud enough to dominate noise, quiet enough to avoid distortion, and consistent enough to require minimal post-processing.
The production chain is: Voice → Microphone → Preamp → Analog-to-Digital Converter → Recording Software → File
At each stage, the signal level must be optimized. The most critical stage is the preamp, because this is where noise is introduced. A preamp amplifies the microphone’s weak signal to a level the converter can process. It also amplifies the microphone’s self-noise and the preamp’s own electronic noise. The goal is to maximize the voice signal relative to the noise signal.
Practical gain staging procedure:
- Set the recording software fader to 0dB (unity gain). Do not use the software fader to adjust levels. It is for mixing, not for gain staging.
- Have the speaker perform at their loudest expected volume. Not normal volume. Loudest expected. This is the peak that must not distort.
- Adjust the preamp gain so that the loudest peaks hit approximately -12dB on the recording meter. This provides 12 dB of headroom above the peak, preventing distortion from unexpected louder moments.
- Check the noise floor. With the speaker silent, the meter should sit below -60dB. If it sits higher, the preamp gain is too high, or the room is too noisy, or the microphone is too far from the mouth.
- Do not touch the preamp gain again during the session. If levels need adjustment, move the microphone closer or farther from the mouth. Changing preamp gain mid-session creates inconsistency that is difficult to correct in post.
⚠️ The Gain Staging Error That Destroys Recordings
The most common gain staging error is peaking at -6 dB or higher. The rationale is “use all the available headroom” or “get a hot signal.” This is dangerous. Digital audio does not distort gradually like analog tape. It clips hard at 0dB. A peak at -6dB leaves only 6dB of safety margin. A sudden laugh, a dropped microphone, a door slam—these can easily exceed 6 dB and create irreversible digital distortion. The distortion sounds like harsh, crackling artifacts that no post-processing can fully remove. The standard safety margin of -12dB to -18dB peak level is not conservative. It is survival. Record quieter than you think necessary. Normalize or compress in post to bring the average level up. The safety margin is insurance against the unexpected, and the unexpected always arrives eventually.
Monitoring: Hearing What Is Actually Being Recorded
Monitoring during production is not optional. It is quality control. Without monitoring, you are recording blind, trusting that the levels are correct, the microphone is functioning, and the room is quiet. Trust is not a production strategy.
Monitoring requires closed-back headphones. Open-back headphones leak sound, which the microphone captures, creating feedback or echo. Earbuds are insufficient—they lack the frequency response and isolation to reveal problems. The monitoring headphones should be flat-response, meaning they do not artificially boost bass or treble. Consumer headphones with “enhanced bass” mask low-frequency rumble and exaggerate high-frequency hiss, creating a false impression of audio quality.
The monitoring procedure is continuous, not a one-time check:
- Before recording: Monitor the room tone. Listen for unexpected noise. Verify the microphone is capturing the intended source and not a different source (a common error when multiple microphones are connected).
- During recording: Monitor at low volume. Loud monitoring causes ear fatigue and masks subtle problems. The goal is to detect anomalies—clicks, pops, dropouts, and distortion—not to evaluate the full mix.
- After recording: Monitor the playback at multiple volumes. Low volume reveals balance problems. High volume reveals noise and distortion. Normal volume reveals the listener’s likely experience.
A secondary monitoring method is essential: record a short test clip and play it back on a different device. The headphones used during recording may have a frequency response that flatters the audio. A phone speaker, laptop speakers, or car stereo reveals how the recording translates to consumer playback systems. Problems that are invisible on studio headphones become obvious on a phone speaker.
The Voice as Instrument: Performance Techniques for Recording
Audio quality is not purely technical. It is also performative. The voice is an instrument that must be played correctly for the microphone. Techniques that work in live conversation often fail in recorded production.
Consistency of distance: In conversation, people move their heads. They lean in for emphasis and lean back for thought. In recording, this movement creates level variation that is distracting and difficult to correct. The voice should be delivered at a consistent distance from the microphone throughout the session. Mark the position with tape on the floor if necessary. The performer should feel the distance and maintain it.
Controlled breathing: Breaths are loud on close microphones. They are not objectionable in natural conversation, but they become prominent in recorded audio. The performer should breathe through the nose when possible or turn the head slightly away from the microphone for deep breaths. Editing can remove breaths, but preventing excessive breath noise during performance reduces editing time and preserves natural rhythm.
Articulation without exaggeration: Recording requires clearer articulation than conversation, but not theatrical over-enunciation. The goal is crisp consonants and fully formed vowels without sounding like a stage actor. The microphone captures detail that the ear ignores in live conversation. Slurred syllables, dropped endings, and mumbled transitions become obvious in playback. The performer should speak as if addressing a slightly hard-of-hearing listener—clear, deliberate, but not artificial.
Pacing for the edit: Record with pauses between thoughts. These pauses are editing points. They allow the removal of mistakes, the insertion of B-roll, and the tightening of pacing without cutting into the middle of a sentence. A performer who runs sentences together creates a recording that is difficult to edit without audible jumps. The pause is not dead air. It is structural support.
✅ The Production Checklist
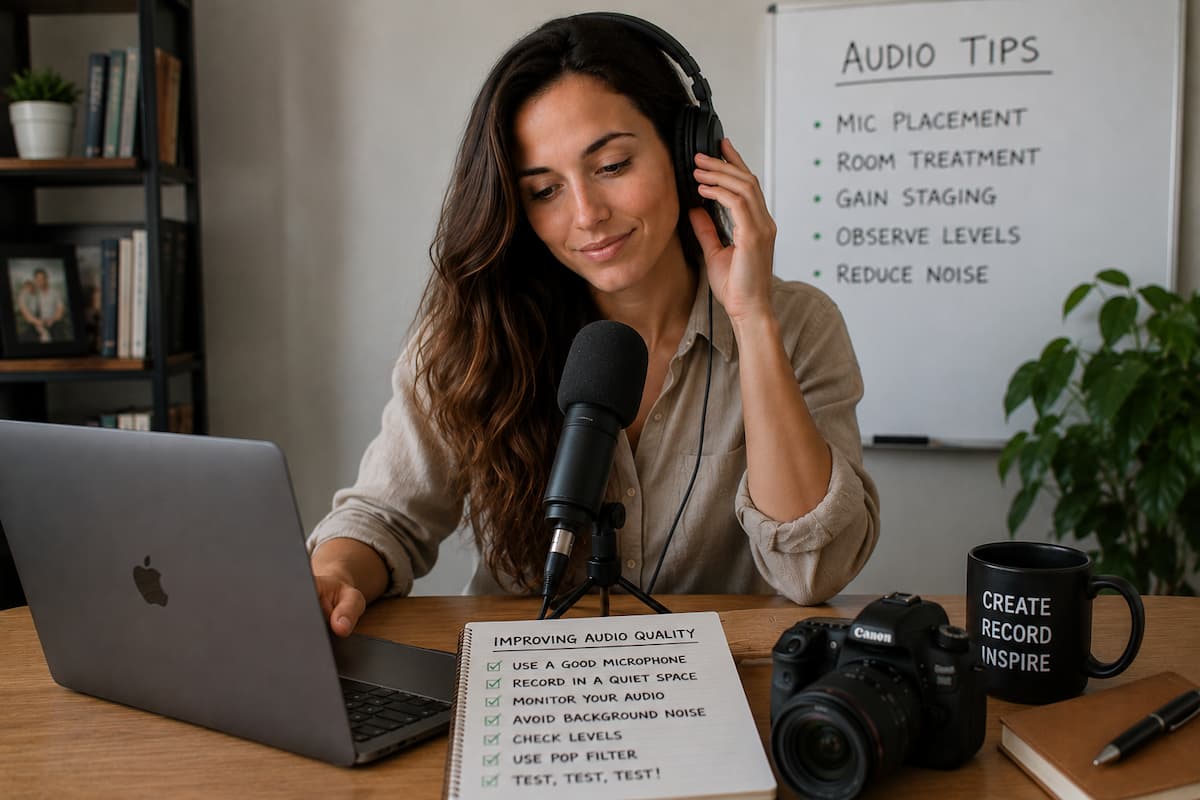
Before every recording session, run through this checklist: Room tone recorded and evaluated? HVAC and unnecessary electronics turned off? Microphone positioned at optimal distance and angle? Pop filter in place? Preamp gain set for -12 dB peaks at loudest volume? Headphones connected and monitoring? Recording software set to 24-bit/48kHz? Test recording made and played back on alternate device? Performer briefed on distance consistency, breathing control, and pacing? Only when all items are confirmed should the actual recording begin. This checklist takes three minutes. It prevents three hours of re-recording. The ratio is favorable.
Environmental Management: The Sound You Cannot Hear
The human ear is an adaptive filter. It tunes out constant sounds—the refrigerator, the computer fan, and the distant highway—after a few minutes of exposure. The microphone does not adapt. It captures everything, faithfully, without discrimination. The sounds you no longer hear are the sounds that ruin your recording.
Environmental management is the systematic elimination or reduction of these invisible sounds. The process is iterative: record, listen, identify, eliminate, repeat.
Common environmental problems and solutions:
- Computer noise: Move the computer tower outside the recording space. Run USB and display cables through the wall or door. If impossible, place the tower on the floor as far from the microphone as possible, with the exhaust fans pointed away from the recording position.
- Refrigerator hum: Unplug during recording. Set a phone alarm to plug back in. The food safety risk is minimal for sessions under two hours. The audio improvement is substantial.
- HVAC cycling: Record during off-hours when the system is inactive. In summer, record early morning before the air conditioning activates. In winter, record midday when heating demand is lowest.
- Foot traffic: Record on upper floors when possible—footsteps from above are harder to block than footsteps from below. Notify housemates or neighbors of recording times. Post a sign on the door.
- Electrical interference: The 60Hz hum (50Hz in Europe) from ground loops and poor shielding. Use balanced cables (XLR) rather than unbalanced (1/4″ or 3.5mm). Separate power cables from audio cables. Use a USB isolator if laptop charger noise is present.
Backup Recording: The Insurance Policy
Every recording session should produce at least two independent recordings. The primary recording is the main production track. The backup recording is the safety net. The backup can be a second microphone, a digital recorder, or even the camera’s internal audio if the primary is an external microphone.
The purpose is not to capture better quality. The purpose is to capture something when the primary fails. Microphones fail. Cables fail. Preamps fail. Software crashes. Storage fills. The backup ensures that a technical failure does not destroy the entire session.
The simplest backup: a digital audio recorder (Zoom H1n, Tascam DR-05X, or smartphone with a recording app) placed near the subject, recording continuously throughout the session. The quality will be lower than the primary—more room tone, less clarity—but it will be usable in an emergency. Sync the backup to the primary in post-production using the waveform alignment tools available in all editing software.
🎙️ The Backup That Saved a Session
A recording session for a sponsored podcast was underway. The primary microphone was a large-diaphragm condenser running through a high-end interface. The audio was pristine. Twenty minutes into a forty-minute interview, the interface’s power supply failed silently. The recording software continued to show levels, but the levels were noise—digital hash from the failing converter. The interviewer did not notice, being focused on the conversation. The interview concluded. The file was exported. Playback revealed twenty minutes of unusable distortion. The backup was a $40 digital recorder sitting on the table, running continuously. Its audio was not pristine. It had more room tone. The levels were uneven. But the entire interview was recoverable. The sponsor received their content on time. The $40 recorder justified its existence a hundred times over. Backup recording is not paranoia. It is professionalism.
Audio quality during production is the result of dozens of small decisions, each individually minor and collectively decisive. The room is treated or it is not. The microphone is positioned correctly or it is not. The gain is staged properly or it is not. The environment is managed or it is not. The performer is coached or is not. The backup is running or it is not. Each decision is a binary choice. The accumulation of correct choices produces professional audio. The accumulation of skipped choices produces the tin-can hailstorm that undermines otherwise excellent productions.
The discipline is not difficult. It is systematic. It is checklists and habits and the patience to run diagnostics before the creative work begins. The reward is audio that supports the content, that carries the message without distraction, that allows the listener to focus on what is being said rather than how poorly it was captured. That focus is the goal. The technique is merely the path.

Riley Bennett writes about content creation, streaming gear, and building efficient creator workflows at estergamer.com. After spending years testing equipment and figuring out what actually works versus what just looks impressive, Riley focuses on practical, no-nonsense advice for beginners starting from scratch. When not writing, Riley enjoys exploring new tech, refining home studio setups, and helping fellow creators skip the expensive mistakes that slow most people down. The goal is simple: honest guidance that gets real results without the marketing fluff.